Wednesday, August 5, 2015

Review: Grex TG3 Combo

No new models this week.  I am going to write a quick review of the Grex combo kit I bought a few months ago.  Starting off I used to use the Testors Aztec diaphram compressor with whatever airgun they sent with that.  It worked okay for large areas and base coats.  Not the most even results all the time, but not terrible. From there I moved up to the Badger Anthem 155, great airbrush.  It has great control and consistency, but I still lacked a decent compressor and the Badger is no gravity fed.  Which, when paired with a lackluster compressor started leading to problems as I got into more advanced techniques like color modulation.

So, finally, I decided to step up and get a new compressor. Originally I was going to buy a tank compressor from a hardware store, but I really need a quiet compressor where I am living now.  So one day I stopped by my local hobby shop and talked to the owner about the grex kits he had in stock.  He was kind enough to let me try out the set he bought for himself and showed me some of the work he had used it for.  I really liked the pistol grip and got a sense of the sound the compressor generated.

With this in mind I told him I would be back the next week with the cash.  I will not lie, this set is not cheap, but he gave me a little bit of a discount, which I greatly appreciated.  About the price though, if you are seriously into this hobby, and really want a nice airbrush, buy this thing.

The compressor is very nice and quiet, it was less noisy than my TV at about 1/3 volume levels.  Next it has an automatic shutoff, so when you're not spraying, it stops running.  The hose is nice and flexible and does not hinder hand movement.  The attached pressure regulator and moisture trap are a great feature and something my old compressor did not have.  It's got suction cup feet which help dampen vibration and thus more noise.

Moving onto the airbrush.  This product is awesome!  The grip is so comfortable and easy to control, even for fine details.  This is one thing I was originally apprehensive about, will I get the same amount of control as I do out of the stylus?  Absolutely, and with more comfort!  All of the parts come apart super simple for cleaning and the pin is easy to change.  Paint comes off of the stainless coating very nicely. At least acrylic, I have not tried it with enamels or oils.  The adjust-ability of air and paint flow are great and you can go from base colors to fine line details in a few seconds.  The kit includes a quick detach for the brush that has another pressure regulator which helps facilitate this.  What I do is adjust the pressure at the compressor to suit the paint, then use the one at the gun to adjust more finely for spray area size.  These QD attachments are also available for other brushes and I bought one for my Badger Anthem as well.

All in all I say it's well worth it, and soon enough you will be seeing some of the results I have had using it.  Stay tuned!


Wednesday, July 15, 2015

Terrain: River Renovation Part 1

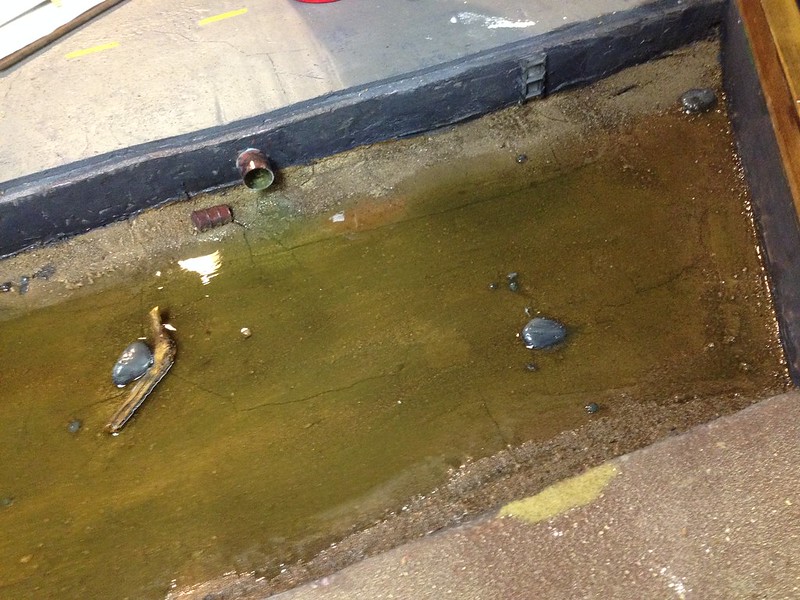
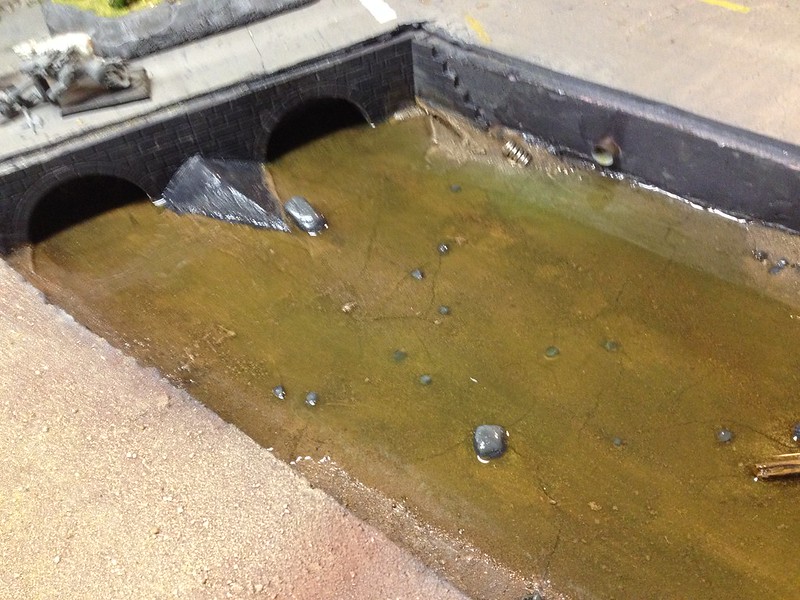
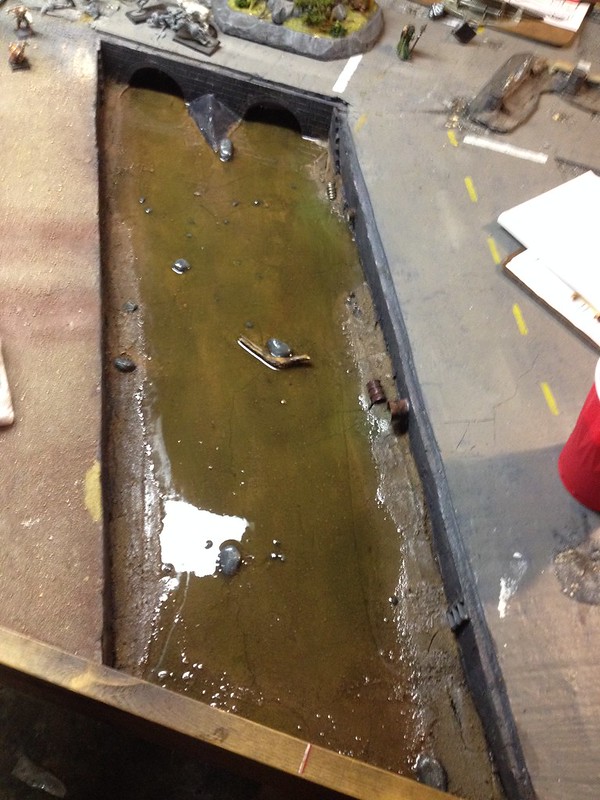
Another two weeks gone by and another post.  Over the past few game nights I have been working on renovating the river on our gaming table.  Over the years it's been getting a bit rough, the resin did not dry correctly last time and some paper got stuck to it.  After that I used some water based water effects to cover it and it was just an ugly brown sludge.  It's always been my least favorite part of the board, not the idea of having it, but the execution.  There's a shot of the original below.


I neglected to take any process shots of this, but the first thing I did was lay down a riverbed out of plaster.  Into that I pressed some different sized stones and some debris.  After that I textured it up a bit and added some paint.  I sprayed a clearcoat after I was done and let it dry for a good 2 weeks so it would not interact with the resin.  I wanted to be sure as sure this time.


I added a bit of debris, some wood, jerry can, spring, barrel, and some discoloration around the outlets.

I still have to add some effects and ripples to the top around all of the obstructions.  I am also going to have water running out of the outlets coming from the city side of the board.  Stay tuned, when it's all done I will make another post.


Wednesday, July 1, 2015

WH40k: WiP Cadian Rough Riders

It's been awhile, but the blog has finally caught up to me.  I don't have a finished model to post this week.  That's not to say there is nothing!  I have here a long in coming squad of Cadian Rough Riders squad which I have been working on for a rather long time.  I started converting the first one in 2012!!!  You can see a post about that HERE.  I've posted about them here and there since then, but now they are finally getting some much needed paint!


Not being a Fantasy [R.I.P.] player, I've never had to paint any horses before, so that's where I started working here.  I finished them in April or so and then having to do base layers on the riders has caused me to stretch out painting them ever since.  I loathe doing base colors.  Today I finally finished the base colors and even threw a wash on. I hope to keep rolling along and finish them by next week.  That way I can start a new project before the next blog post.


I think I have mentioned it before but they are going to be magnetized to allow for some variation, if I ever use them that is.  Stay frosty!