So, I finally got around to painting up my converted tank destoyer. I settled upon the name Armordillo. This tank will be the lead vehicle for my 3rd Armor Squadron. The other 2 tanks are FW turreted Vanquishers. I used a couple new products on this tank. They are AK productions panzer grey grime and concrete dust effect. I used these to do some streaking which you can see in some of the side on shots. Without further ado, here's the pics.
You can see the art I made on the barrel of an armadillo with a cannon in its back.
Showing posts with label hunter. Show all posts
Friday, February 22, 2013
Saturday, July 7, 2012
Hobby: Slat Armor for a Leman Russ
So, because I now have a tank hunting squadron of Leman Russ hulled vehicles I decided they will need extra armor. I have bought the FW extra armor for the Chimera chassis in the past and am really happy with it, but I wanted something different for these tanks. I decided to go with slat armor, which operated by detonating explosives before they reach the hull of the vehicle and taking away much of their penetrative power.
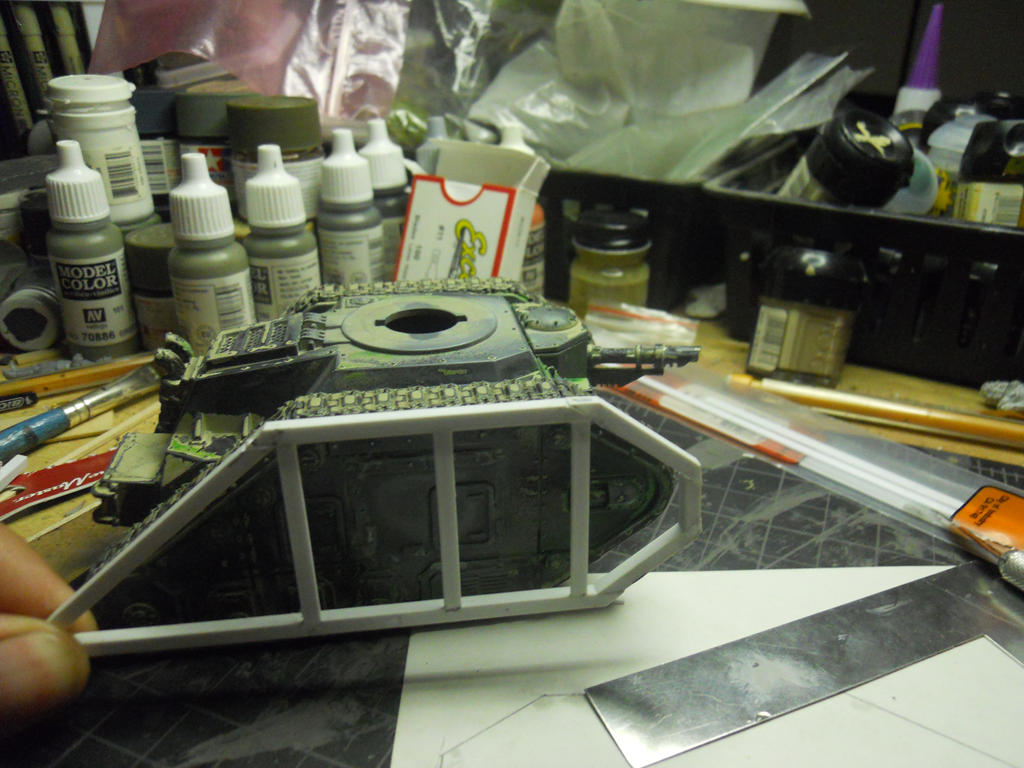
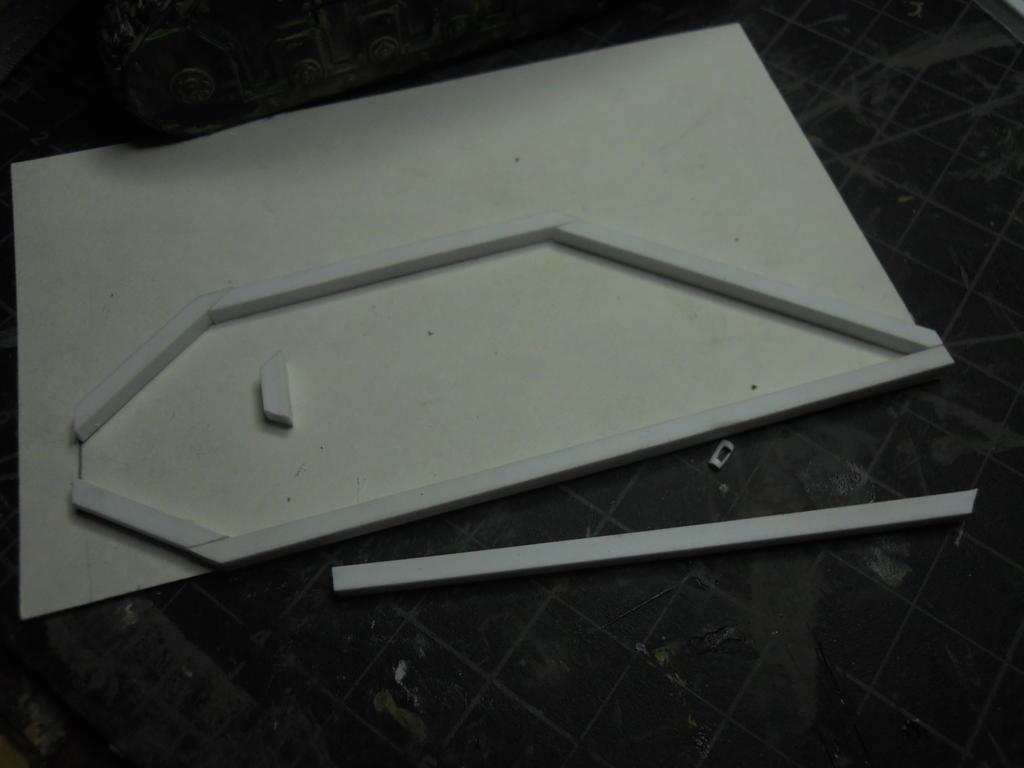
Below You can see the frame all layed out over a pattern I have made on a sheet of 3x5 card.
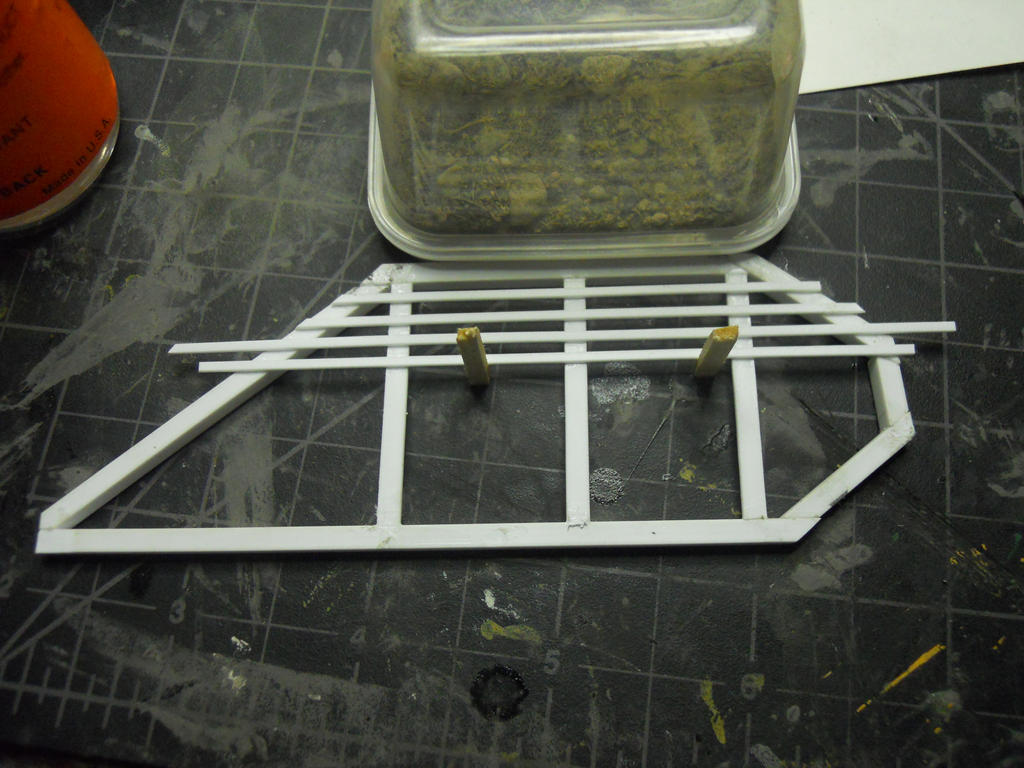
Next I added a few vertical supports and glued it all together with plastruct plastic weld. Really happy with this product for use with plasticard and the like as it actually bonds the materials and won't be anywhere as brittle as super glue for this application.
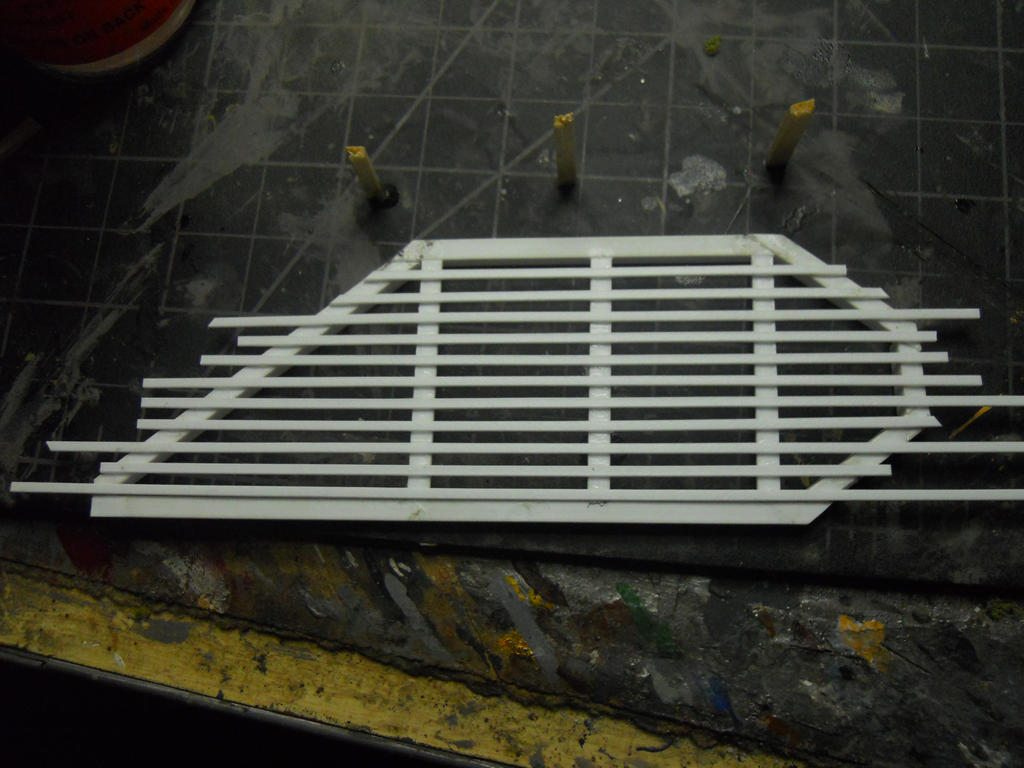
Next I begin to add the slats. I used 2 pieces of balsa to give a uniform spacing and a little tub of basing dirt to hold it in place while I laid each slat.
After a little while I had all the slats glued on, so I just had to give them a little time before I trimmed them all up.
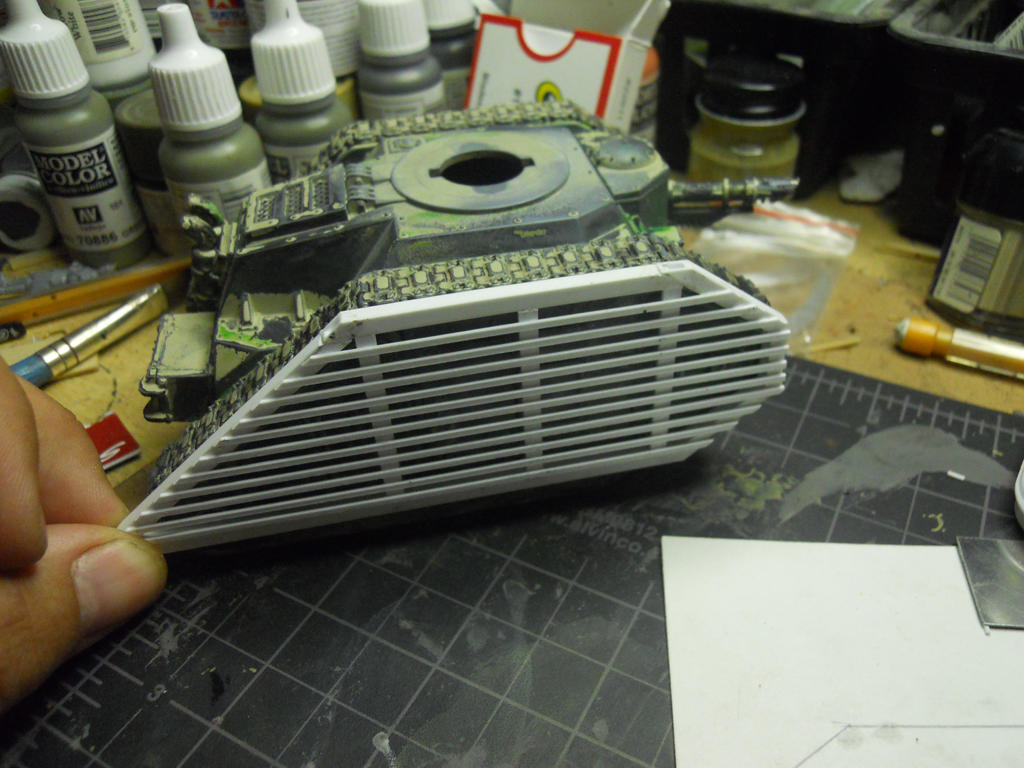
He is the final result. I really like the way it came out and I will definitely go forward with this project. I will need to buy some more strip styrene in order to finish the other 5 for the squadron. Will be adding magnets to the hulls so that they are not permanent. None of the 3 vehicles have sponson weapons, so this was much easier because of that. It would be possible to do with sponsons though and I think that it would look pretty cool on a Russ with sponsons as well.
I'm going to be adding some plasticard details to the Baneblade I am reworking in the near future. At the least there will be mud flaps such as the ones on the FW super-heavies.
Thanks for stopping by.
Below You can see the frame all layed out over a pattern I have made on a sheet of 3x5 card.
Next I added a few vertical supports and glued it all together with plastruct plastic weld. Really happy with this product for use with plasticard and the like as it actually bonds the materials and won't be anywhere as brittle as super glue for this application.
Next I begin to add the slats. I used 2 pieces of balsa to give a uniform spacing and a little tub of basing dirt to hold it in place while I laid each slat.
After a little while I had all the slats glued on, so I just had to give them a little time before I trimmed them all up.
He is the final result. I really like the way it came out and I will definitely go forward with this project. I will need to buy some more strip styrene in order to finish the other 5 for the squadron. Will be adding magnets to the hulls so that they are not permanent. None of the 3 vehicles have sponson weapons, so this was much easier because of that. It would be possible to do with sponsons though and I think that it would look pretty cool on a Russ with sponsons as well.
I'm going to be adding some plasticard details to the Baneblade I am reworking in the near future. At the least there will be mud flaps such as the ones on the FW super-heavies.
Thanks for stopping by.
Subscribe to:
Posts (Atom)