Showing posts with label build. Show all posts

Sunday, August 10, 2014

July-August Update

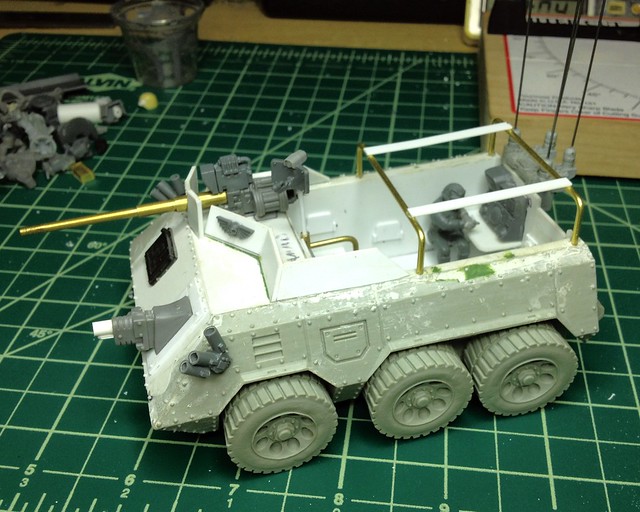
Been slipping on updating again, but not on working!  Since the last update I have been pretty darn busy!  I painted a bunch of BFG cruisers after I finished the Knights.  Then I built my Hydra kit, with a few added details and modifications.  After that I finished up my rough riders after I found some legs to use from Curious Constructs.  After that I finished up my Salamander Scout Car.  More recently I have been working on something special for BFG.  A dreadnought class vessel which will be called Triton, I'll hold off on pictures on this for now, but once I finish roughing out the main components you can expect a post.  Lastly I finally got some of the new Rebel fighters for X-Wing today and decided to try a new theme, sorta German Luftwaffe inspired color scheme.  You can see the test model on the Headhunter below, after the break.  


Wednesday, June 25, 2014

The Knights of the Order of Thanatos

Yet again I have to introduce a post after such a long hiatus from the blog.  It's been quite a while since I have updated this blog with the idea of re-shooting my model collection.  That has not happened, but I have not been idle.  As I mentioned back then I did repaint my Baneblade, Zeal, though I failed to take any pictures until today.  In the meantime the release of the Imperial Knight kit by Games Workshop really got me fired up and into painting mode.  My friend Kevin and I immediately decided to order some of them and I would paint them to match.  We've always wanted to start a Titan Legion, but have never spent the cash, so this was a pretty awesome second chance.  We each ordered a Knight and I also ordered a Dreamforge Leviathan, not knowing it would be far too large to join our Knightly Order and will instead he the founding member of a Titan Legion.  In exchange for painting his Knight, Kevin paid for some of my order and also got the expanded decal set.  Three months later and I have finally kept up my end of the bargain and finished the Knights.  Not for lack of effort though as April was the only month I really did not work on them.  But we are going to have an Apocalypse game soon and I really wanted to have them done for that, even if they will be on opposite sides of the conflict.

Without anymore senseless blather, here they are, face to face, ready to fight.

The Imperial Knight is a really fantastic kit and a dream to build and paint.  The only thing I would ask for is a bit more freedom in the legs.

More after the break.

Thursday, September 5, 2013

Back at it.

So, August went by with very little work on the hobby front.  I spent one night working on a warcaster and a talon light 'jack for our Iron Kingdoms RPG game and then put them aside due to a lack of drive.  After that I went ahead and finished my scratch built Neptune Frigate.


This only took a couple of nights to finish up, but it felt good to finish it up.  After that i started work on an orbital drydock for BFG, got it rough built and not much more.  Felt the need to paint something since I had just scratch built the frigate.

So, a couple of days ago I started working on my Hans light Panzer walker for Dust: Warfare.
The first night was spent doing the filters.  The second night I did chipping and some chipping highlights on all but the legs.  Tonight I finished up the chipping and went on to some washes.  I picked out all of the seams and corners and other details with AK Interactive's Wash for DAK vehicles.  This step is what really brings out the lines and actually helps the colors look much more interesting.


Saturday, July 7, 2012

Hobby: Slat Armor for a Leman Russ

So, because I now have a tank hunting squadron of Leman Russ hulled vehicles I decided they will need extra armor.  I have bought the FW extra armor for the Chimera chassis in the past and am really happy with it, but I wanted something different for these tanks.  I decided to go with slat armor, which operated by detonating explosives before they reach the hull of the vehicle and taking away much of their penetrative power.

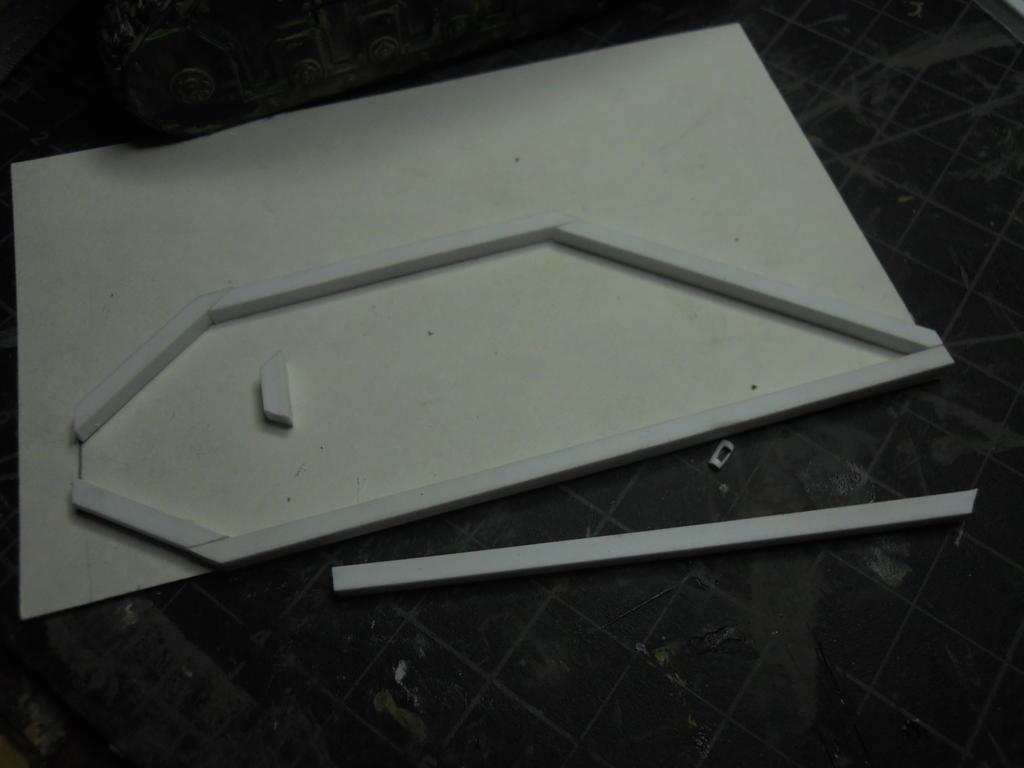
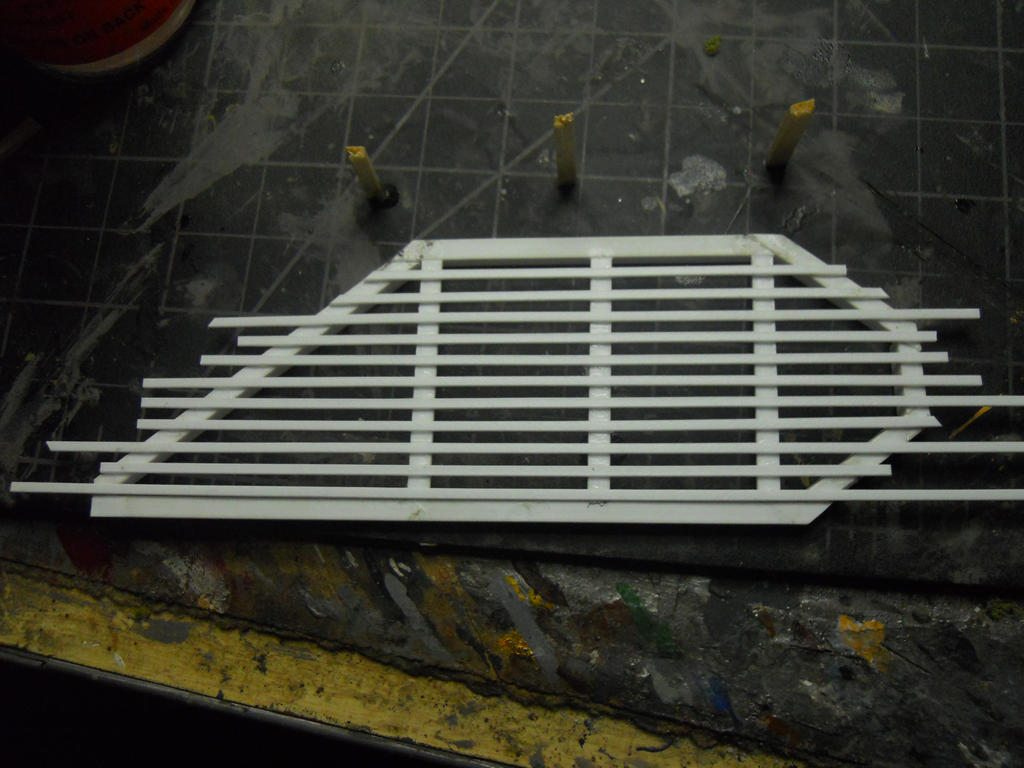
Below You can see the frame all layed out over a pattern I have made on a sheet of 3x5 card.


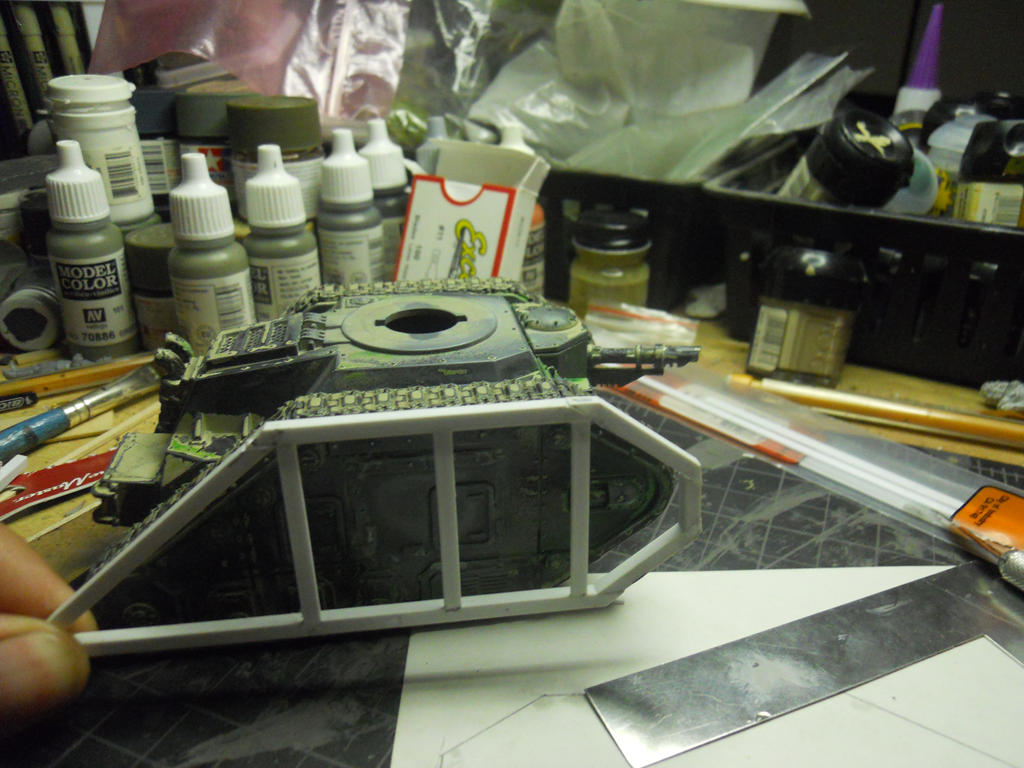
Next I added a few vertical supports and glued it all together with plastruct plastic weld.  Really happy with this product for use with plasticard and the like as it actually bonds the materials and won't be anywhere as brittle as super glue for this application.


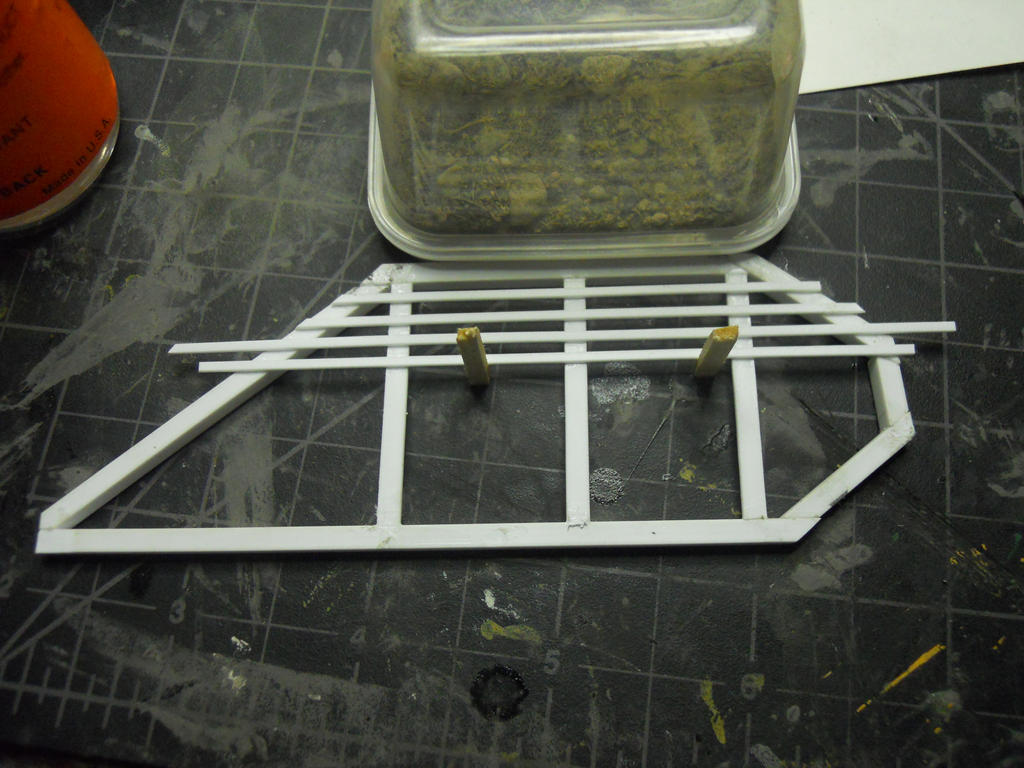
Next I begin to add the slats.  I used 2 pieces of balsa to give a uniform spacing and a little tub of basing dirt to hold it in place while I laid each slat.


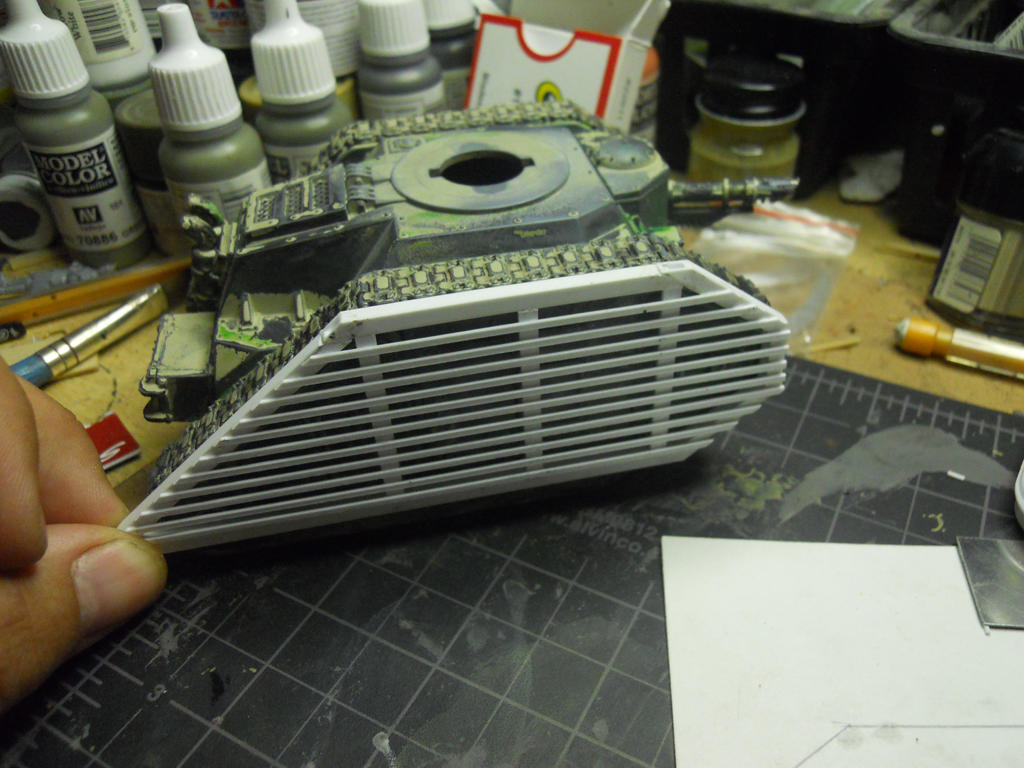
After a little while I had all the slats glued on, so I just had to give them a little time before I trimmed them all up.


He is the final result.  I really like the way it came out and I will definitely go forward with this project.  I will need to buy some more strip styrene in order to finish the other 5 for the squadron.  Will be adding magnets to the hulls so that they are not permanent.  None of the 3 vehicles have sponson weapons, so this was much easier because of that.  It would be possible to do with sponsons though and I think that it would look pretty cool on a Russ with sponsons as well.


I'm going to be adding some plasticard details to the Baneblade I am reworking in the near future.  At the least there will be mud flaps such as the ones on the FW super-heavies.

Thanks for stopping by.

Monday, April 23, 2012

Building a Gaming Table [Part 1]

For many years we have been talking about building a table for our gaming group.  About organizing the godawful amount of miniatures in our host's basement.  Well, last week I finally made up a list of stuff I may need to build a table and Kevin, the person whose house we play at, said he would bankroll the whole thing.
Not that this hasn't all been done before.  But today I called him up and said we should go to Home Depot and buy this stuff.  So  that's exactly what happened.  We bought it and loaded it up in and on my Jeep.


A few feet of twine later and we were all set for the ride back to his house.  Not a very comfortable ride having  to hold the stuff on the roof down when it's windy and 30 and you have no room to move about thanks to the 2x4s, but hey we got back safely.


So, as I began to cut up lumber, as seen below, Kevin and another gaming buddy of ours, Andy, began the process of organizing the hordes, or hoards, of models and armies spread throughout the basement.  So much for playing some BFG.


Kevin's father has a good selection of tools and is kind enough to let us use them, with one rule, no drinking and power tools.  Reasonable enough and not something we were planning on mixing anyway. First thing to do was make the legs, because every table needs legs...


Here you can better see the frame, still needs a bit more under the plywood though.  Some drink holders too, and a shelf there on the bottom for storage of something.


And the top, we've got some nice 2" pink insulation foam as the gaming surface and some 1"x5" pine board for around the outside. This will leave a nice border and keep what's on the table, on the table. Still a lot of work to be done, but it was very nice to finally get started on something like this.  We're going to leave the board at 8'x4' for when we decide to play larger games, but will have some surface feature which will mark off 2' from either end for a 6'x4' play area as well.


To be continued...