Here we are again with another update on the gaming table! This week was really painting heavy with lots of drybrushing and some detailing too. First I started with painting the desert/waster part of the table. We used craft store paints to do this, a medium brown, then a light brown, and finally a tan. I also painted up the corresponding dunes and one of the wreck markers in the same colors.
Here's a shot of it complete, with light highlights in the areas that I built up with the clay. I also resprayed with the dark brown spray paint in the path where the bridge crosses the river.
Next, I drybrushed the urban parts of the board. Used the same craft paints but a medium gray and a light gray. Did all of the drybrushing with a cheap 2 inch natural, soft brush. They're basically the cheapest you can get at Home Depot but are very forgiving on the amount of paint on the brush and cover very well for this application.
I then painted the roads with the medium gray, but more solidly. I also mixed the medium and light grays to varying hues to add some variations to the road.
Once that was done it was time to detail the road. This started with detailing the craters with some light gray highlights and some soot marks. It also involved adding some lines to the road. Had to start by masking them off.
Then I painted them on unevenly with some yellow paint. When I do lines like this I don't paint it to cover it completely but only lightly so it looks worn out.
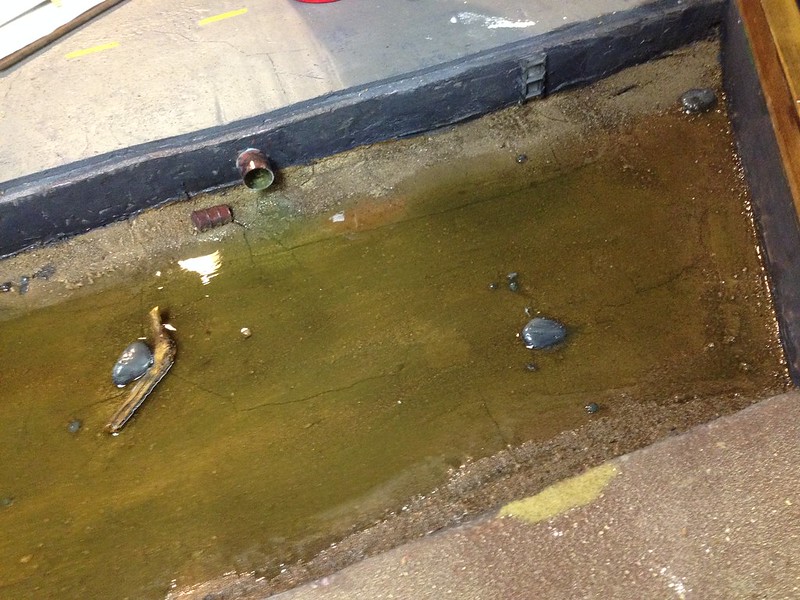
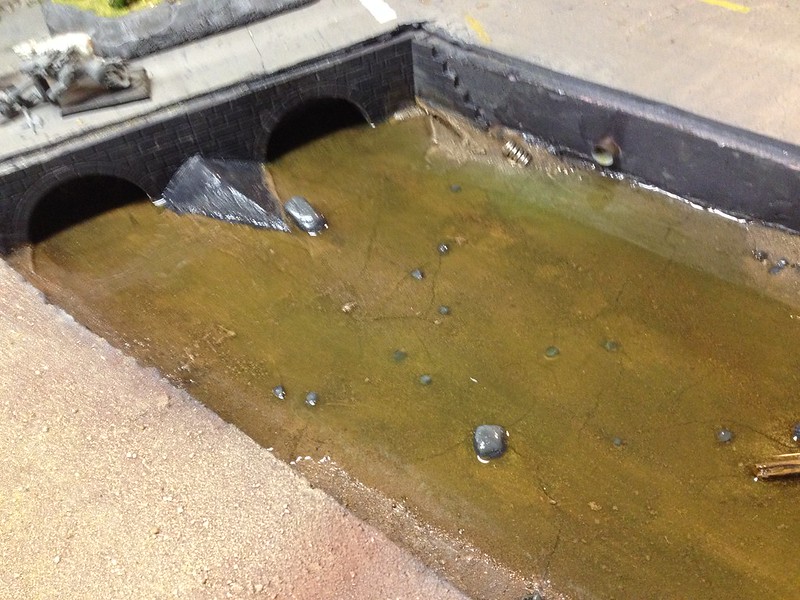
Here we see the results of this with some stop lines added as well. The river's base colors were also done and the resin mixed and poured in. I have some water based water effects which I will make look muddy and add to texture the surface more. Should also make the water look more natural and dirty.
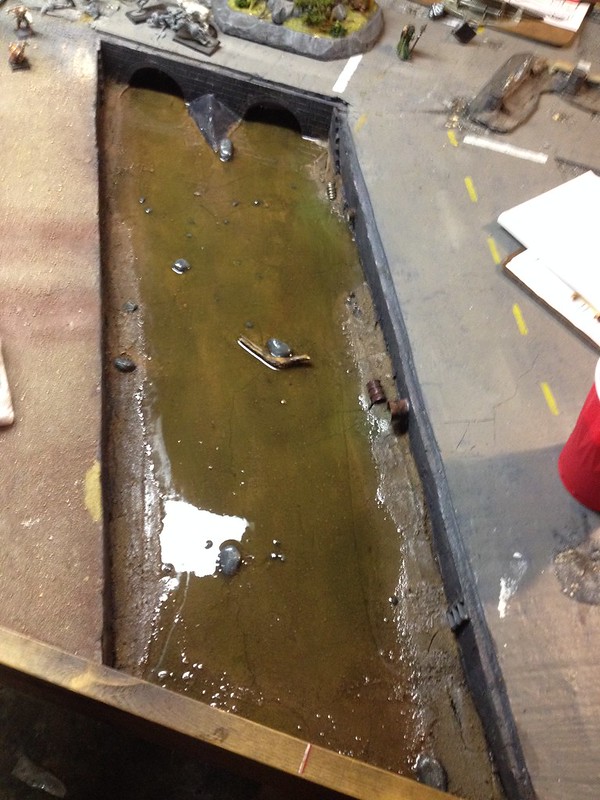
Here's a shot of what I have done so far. I also painted the "Techno Bridge" while waiting for the river's paint to dry.
So, should have everything pretty much wrapped up by next time. Cup holders, finish the river, seal the whole thing, and add some static grass spots. It will need to be stained as well but my brother is going to do that while I work on terrain. Finishing all of our terrain and building more will be the next big step for this project. That's already begun in my other series
New Table, New Terrain!
Thanks for stopping by.