Showing posts with label dust. Show all posts

Wednesday, June 17, 2015

Dust Warfare: Silent Death

These Steel Guards models have always been some of my favorites. Mutilated veterans given a chance to fight again for the glory of their Motherland. Encased in the heaviest of armor and given the most powerful "infantry" weapons they would go and avenge themselves.  Some people like these models others don't.  I think they are awesome.  This is the Steel Guards sniper team and they are armed with man portable semi-automatic cannons.


Target sighted and annihilated.


Hope you enjoyed.  I did have a bit of trouble with the white balance on the last image, but I think it turned out okay.

Wednesday, June 3, 2015

Dust Warfare: KV-3 Heavy Walker

Here is the Soviet heavy walker KV-3.  Along with the Wotan it is one of my favorite units in the game, both visually and in use.  It's a hard hitting and survivable unit, and it looks good doing it.  As usual with the Dust kits they come pre-built.  However you will spend the time you would have been putting it together to fill, file, and clean all of the mould and seam lines.  Kinda a pain really.  A lot of it would be easier if you built it yourself. The primer that it comes pre-coated with usually works out well though.

Also, they don't include any decals other than some stenciled markings, which I paint over anyway... So, I got some Soviet markings and lettering/numbering from my favorite hobby shop Section 8.  Below you can see the version with the dual 152mm cannons because if one is good two will be better.

"Matrioshka"


I used AK washes and grimes for the weathering. Had to buy more of their white spirit since other thinners don't seem to cut it for the streak marks.


I kind of regret not putting a star on the front, as I had with the KV-47 Aero.


I did not add any extra stowage as I do with my German walkers.


Though this scheme is simpler than my German camo, it does involve color modulation.  So, it takes about as long as painting the camouflage.


Here is the other version, with dual heavy Gatling cannons.
"Babushka"


"For the Motherland!"
This picture also shows off the texture I added to the front portion of the hull.  I gave it a cast look with some Tamyia Mr. Surfacer. It's great stuff.


"Repaired April 1947"

Hope you enjoyed the view.  You may notice these pictures are a bit better quality than the earlier posts this year. This is because I finally got a daylight worklamp and added it to the photo setup.  This shows the colors much better with little to no retouching on Aviary. Before I had to tweak the contrast, saturation, and brightness to get a decent turnout. This had varying results. The new lamp is great, so expect much nicer photos going forward.

Just check out this reshot picture of the Panther from my last post and I think you can see the difference this light really makes. Brings out the truer colors and details much nicer.


Wednesday, May 20, 2015

Scale: Panther Ausf. G

Here we have another scale model which I have modeled with my Dust Warfare axis in mind.  This time a 1/48 Tamiya Panther Ausf. G.  Or rather a Panzerkampfwagen V Panther Ausführung G.  I still have another one of these to build along with a Tiger II, but they are out of production.  Unfortunately this scale did not prove popular enough with many modelers.  There are no rules for this tank in game, nor have I tried to make any up as of yet, but surely I will at some point.

The main thing I have done to try and make this take look a little less typical is add the Infrared scope, which was an early form of night vision.  I got this off of one of my Axis walkers and tweaked it to fit as seen.


I used a hot piece of wire to melt a couple of dents into the frontal armor.  It bulges up the edges quite nicely.

This kit comes with a die cast metal lower hull, which gives it a nice heft when assembled.  It also includes a braided string to assemble to tow cables and allow them to lay more naturally.

One thing on the kit I was not happy with was the exhaust guards, the plastic was just too thick.  To remedy this I used them as a form and shaped my own from thin sheet copper.  This allowed them to be thinner, but also dent them up a bit.


I assembled the tracks with the wheels all unglued for painting and got them spot on the first time around.  Unfortunately I ended up dropping them.  I dropped one and it took some time to fix.  Once it was done I promptly knocked the other off the work table so it too could explode.  They just would not line up right the next few times I put them together.  It took a couple of hours of work to fix them. Only about 30 minutes for original assembly.  I was ready to throw the whole thing against a wall.


Here you can see some kill markings and the IR scope.

The scope is based on real German wartime technology, which was actually mounted on Panthers, though not as above.  I figure in Dust they have the 1 above the gun with screens inside that the crew can share.  Here you can see the real thing, an infrarot-scheinwerfer.  


The tank is called Die Barenjager or "The Bear Hunter." As in Russian bears, this tank fights on the eastern front.


Here's the commander, who is part of a set of resin commanders I got from Verlinden.  I added the radio headset and binoculars.  I actually painted the hat and pants in flecktarn, though it is hard to see here.  The MG has been updated to an MG44 with a gunshield.

Wednesday, April 1, 2015

Dust Warfare: Frontoviki

More Soviet infantry this week.  Again these were painted in late 2014, I just never took pictures.  These guys are a Soviet Battle Squad.  Frontline infantry, but they come with some decent firepower in the form of their 2 machine guns.  They are not Red Guards like the last unit I posted, so they are equipped a bit differenty.  Most noticeably their armor looks different, but also they wear a simpler and more utilitarian looking uniform.  I went with a Soviet styled amoeba camoflage for their coveralls and Russian Green for their helmets and armor.  I started chipping the armor with sponges on this squad and went back and did it on the Red Thunder.  I still need to do so to my Axis units as well.  

I've got 2 continual complaints on the Dust infantry models.  One is the soft plastic and the other is a lack of detail in most of the facial sculpts that makes them a bit difficult to paint.  I do enjoy the overall look of most of the units though, so I am more than happy to deal with these two, perceived flaws.

Sergei says shoot that way.


Unfortunately, this could be my last post on the blog.  It takes a lot of extra time to take so many photos and I've had less time for the hobby in general.  It's been a nice ride anyway.

Sunday, February 8, 2015

Dust Warfare: Red Thunder

A couple of months ago I finally decided to paint some of my Soviet infantry.  The first thing I had to do was look at some historical references.  A few google image searches gave me an idea of what I was looking for and I went out and expanded my collection of Vallejo paints.  

This unit mostly focuses on its two rocket launchers in game and you can use them to engage light to medium vehicles rather well.  That's not to say they can't handle infantry.  The guys with the machine guns all have underslung grenade launchers adding a few extra dice to that punch.  As with my Germans I added stocks to the guns.  I just feel it makes them seem a bit more realistic.  Something to note with these models is that they come with equipment on their belts and backs.  This was a nice change from the earlier Axis and Allied models who did not have anything on them.  I had to add it to my Axis troops.


I changed up the basing from my Germans a bit and went for more of the patchy style that was featured on the Ta-152 model's stand.


Let's hear some love for the Dust universe.  It's got a pretty cool storyline and a killer aesthetic which really drew me in.  The folks in my usual game group don't play the game but I recently found some people in my area who do play.  I even went with them to a small tournament in Toronto where my distinct lack of play experience really showed.  Oh well. 


EDIT:  I've got posts ready to get through May of this year.  So be ready for an actual update schedule.  *GASP* I know.  Expect the first and third Wednesdays of every month.  Perhaps more If I post what I am actually working on in real time.  Though I may just keep tacking the posts onto the end of the queue.

Monday, September 29, 2014

Scale: Focke-Wulf Ta 152 H1

Here is the kit I have been working on for the last 2-3 weeks.  It is a Dragon Models 1/48 Focke-Wulf Ta 152 H1 from I think 1988-89, making it as old or older than I am.  I've been trying to get back into Dust and have been playing my fair share of War Thunder on my computer.  So, I decided to get some actual Luftwaffe aircraft to add to my Axis army.  I stopped into Section 8 Hobbies here in Buffalo and picked up this Ta as well as a Me 262.  This kit was used, and so some of the parts were clipped from the sprue, other than that it was like new.  The only problem I had was some really old masking tape on the fuselage which was quite hard to remove.  The camo scheme and colors are not fully based on any historical squadron but rather what I thought would look nice on the model.

It was interesting to get back into scale modelling as opposed to wargames models.  Building this kit was much more of a challenge than I have faced recently, everything is much more precise.  That's not a bad thing, just a different experience.  With so many more subtle details cleanup is more demanding and so is the painting.  This model took a lot more time than any of those for my Imperial Guard or Dust forces, though it may be just a bit more rewarding too.

  The base represents the new styling I will use for my future Dust units,  I felt the total grass was less visually interesting that it could be and so made it a bit patchy with dirt beneath.  I haven't worked out what the rules for this model, but there are some similar weapons for other units.  Let me know what you think!  More after the break.


Thursday, January 2, 2014

KV47 AERO


A New Year, a new blog post.  I was pretty lax on updating this blog through the latter half of 2013. Furthermore, I was pretty lax in painting and hobby work.  I was spending my free time doing other things. I started playing some more video games, playing airsoft, and in the last month or two I started playing Magic The Gathering for the first time in a few years.  This year I am going to do my best to update this blog at least every two weeks and have something new to present in every blog post. With the new IG codex due to drop in the next few months I feel I will have plenty of motivation to finish working on my Guard army this year.

Anyway, a few months ago I went to Millennium Games for an X-Wing tournament and had decided beforehand that I wanted to start collecting an SSU army for Dust: Warfare.  When I got there I saw that all of the Dust stuff was on clearance since sales were not doing that great.  For me, this is sad since I love the miniatures and it's a pretty solid tabletop game.  However, it also meant that the models were 50% off...  I ended up winning the X-Wing tourney and spent my store credit on a KV47 Aero kit and a few squads of infantry.

I finished painting this model in I think November.  But with hunting season and other stuff going on I would get home and not feel like taking photos at all.  I have been sick the last few days and had some free time, so today I set up the camera and finally took some pictures.  I've been using Flickr to host the pictures for the blog since they allow up to 1TB of free storage and the in-site photo editor, Aviary, is rather nice indeed.

The KV47 Aero is transported in game by a helicopter, which was also included in the kit.  I did not yet paint it, but it will probably be the next Dust model I work on.  I painted all of the greens with my Badger Anthem airbrush using a Russian Green paint set made by Vallejo which I picked up at Section 8 Hobbies.  It includes 5 different shades of green which I used to do a lot of color modulation on the surfaces of this model. More after the break.

Tuesday, September 17, 2013

PzAufklL. I-C "Hans" (Early Production)

I finally got around to finding my memory card today and so I charged up the camera and took some pictures of the walker I finished last week.  This is the early production Hans that comes in the Dust starter set which I split with one of my friends.  I primed this walker at the same time as I did the medium panzer walker and as such I did not have my new airbrush and did not attempt any color modulation.

Even still I don't think any of the colors turned out looking flat or too uninteresting.  For the chipping I mostly used a blister pack sponge piece to dab and a brush to add scratches and larger scuffs.  After that is a rather light highlight to look like the edge of chipped paint. I used a lot of AK Interactive weathering products for this model.  A couple of filters, the brown wash for DAK vehicles, and three of the streaking grimes. After the clear coat I add some MIG Productions pigments for a dusty finish.  Especially on the feet and lower legs.

Here's the front of the model.  The only thing I am unhappy with in these pictures is how the color of the grass shows up as really quite yellow.
More after the break.

Thursday, September 5, 2013

Back at it.

So, August went by with very little work on the hobby front.  I spent one night working on a warcaster and a talon light 'jack for our Iron Kingdoms RPG game and then put them aside due to a lack of drive.  After that I went ahead and finished my scratch built Neptune Frigate.


This only took a couple of nights to finish up, but it felt good to finish it up.  After that i started work on an orbital drydock for BFG, got it rough built and not much more.  Felt the need to paint something since I had just scratch built the frigate.

So, a couple of days ago I started working on my Hans light Panzer walker for Dust: Warfare.
The first night was spent doing the filters.  The second night I did chipping and some chipping highlights on all but the legs.  Tonight I finished up the chipping and went on to some washes.  I picked out all of the seams and corners and other details with AK Interactive's Wash for DAK vehicles.  This step is what really brings out the lines and actually helps the colors look much more interesting.


Sunday, April 14, 2013

On the Workbench

It has been some time since I have updated the blog,  but that is not to say that I have been idle with regards to the hobby.  I just sort of lost steam with the battle reports, as I usually do.  From now on I will probably condense the reports into a single tournament summary post.  Once in a while highlighting a very good or close game with its own battle report.

The primary reason I got into this hobby is the building and painting aspect.  Being able to play with all of my models is really an excellent bonus to that and has become a larger part of my enjoyment. That being said I'd rather not turn the blog into a chore by trying to force myself into writing bat-reps and just write about what I do each week.

Several weeks ago I finally got around to painting some more Dust Warfare stuff.  First up is the first walker I have painted the Medium Panzer Walker.  I recently found out about a relatively new hobby shop a few blocks from where we game every week.  They don't carry much in the way of wargaming but they have begun to stock some Games-Workshop products.  They have an awesome collection of scale kits and a wide array of paints and weathering products.  I picked up the DAK weathering kit from AK Interactive, it includes a wash, a streaking grime, and a filter.  I watched a few weathering tutorials and ended up with what you see here. The filter helps modulate the base colors, the wash helps bring out the details, and the streaking grime adds streaks of washed down grime.  I also started using a fine sponge to add the chipping and then paint some some finer scratches here and there.


Thursday, January 3, 2013

Not dead, but I am in Mordheim


My brother and I have not worked on much in a while, so tonight we got the balsa planks he ordered out and made up some terrain for Mordheim.  I made the stilt bridge in the middle and the barricades beneath it and he built all the crazy boardwalks.  We use these to connect terrain pieces while we place, usually buildings and usually only when we play Mordheim.  It just needs some wood stain and it's all done.


The week before Christmas is the last time I worked on anything.  I painted my Recon Grenadiers for my Dust: Warfare Axis army.  These are my first completely finished troops which include basing.  I also chose to cover up the large cross on their chests and just go with the one on the shoulder.  The groundwork really doesn't look so uniform in person, plus I got some assorted tufts in the mail which I put on some of them.  Really breaks them up more.


Here's a shot of the backs.  You can see the little bushes better.  I think they look cool, but they are a bit brittle so they may not be a featured when I base the rest.


To a new year, and to more consistent posting!

Tuesday, June 12, 2012

New table, new terrain! [Part 3]

Okay, so we've had these ruins for quite some time, so they are not technically "new" but they will seem like new when I get through with them! Step one is basing them all.  I think we have a total of 12 plastic buildings.  So this will be no small feat.  So we collected most of them here for viewing.


Next we had to cut up the hardboard which was purchased with the rest of the table supplies a while back.  My brother did not come with us today so I was forced to have Andy and Kevin help me maneuver the sheet over the table saw.  As a result, some of the edges are not the straightest possible though they will do fine for terrain.  Kevin also had a knack of pushing the material into the blade and pinching it, of course he would not admit to it.  The problem mysteriously vanished when Andy held the outside edge. Hmm...


Once I had the strips of a couple widths cut I could manage most of the further cutting on my own and measured and cut out the pieces for each building.


The next step was to take the buildings off of their old cardboard bases, clean them up a bit, make any repairs, add any extra details, or anything else that needed to be done.  So in letting Andy use my hobby knife he decided to use it to block a smack for some wise talk.  Absent mindedness is not a good thing when handling sharp objects.  There's a reason I used all the power tools.  So, I get a nice 1 in wide gash in my wrist.


After I tended to my wound I finished what I could on our chapel.  It needs a roof still, and the second layer shall be removable so that the interior can be accessed.  I will probably also make some pews and an altar and such for it.


The buildings got glued down to their new hardboard bases and that was pretty much all the work there was to do.  Of course we had the Stanley Cup game playing on the laptop, if you could call it a game...


So, we finished up with a game of Dust: Warfare.  150 pts Andy vs. I, Axis Vs. Axis.  We played corner deployment, secured area, and the one where you get to the enemy deployment.  In the end it was a draw.  We each killed one enemy unit of Battle Grenadiers with neither of us making the enemy's deployment with any units.  Mostly due to the lines of minefields we laid everywhere.  It was still fun, the fortifications were an interesting addition, and we caught a mistake or so more in how we have been playing.


Next time we're there I will be cleaning all of the buildings, as they are rather dusty.  I will also try to do most, if not all of the groundwork and flocking.  If I have time I will add any extra details and to the base coats of spraypaint.  We'll see.  I think painting all this terrain is going to take even more time than building the table.  I still have other terrain to finish, like the sentinel piece and a ruined land raider.  Some of the older pieces need a retouching as well and we still need more scatter terrain and barricades.  A lot of work to finish, so stay tuned!

Saturday, June 9, 2012

Dust Warfare: Update

So, got two more games of Dust in last week.  One was 150pts against Andy's Axis.  We played an objective based game,  by the end I had a handful of troops left and held on of my objectives, the bridge.  My dice were not with me again and I could not do much harm, whereas Andy shot me all over the place.  We caught a lot of things we missed in our first game like blitzkrieg is only for move orders.  We used medics and engineers properly,  radios issuing orders out of control range and a few other minor things.  They sorta came out over the course of the game and we were both still sorta learning as we went.  Andy read up on the rules beforehand while I was working on the table.  The second game was also 150pts but we did a 1v1v1 game with Andy, Kevin, and I deploying on an edge each.  We played objectives again, but it saw that you can just kill everything and win in these smaller games.  Speaking of killing, it's something that my dice actually allowed this game. This game was really fun with units and walkers dying spectacularly left and right.  Turn 2 I believe it was, had my Ludwig maim Kevin's light walker then his other light blew up the Ludwig and my Battle Grenadiers reacted and blew up the light walker.  Meanwhile some of Kevin's Rangers grenaded Andy's Lothar to death.  This left my untouched Hans and Kevin's light walker with 1 hit left as the only two vehicles left.  In the end I had part of a command squad and some grenadiers holding the bridge and Andy had 2 partial squads left and finished me off.  I think he had 6-7 models left in the end and he won it.

All in all my original opinions of Dust remain.  Though the things we forgot are really important and really added to the game in a great way.  Reactions are great and really useful at times.  I can't wait to play again.


On the hobby side I got my three camo colors for my walkers.  There they are, flammable and everything.  I really like Tamyia for airbrushing, especially when using the Tamiya thinner.  You can really thin them down and they still cover extremely well.  I would say they are much better suited to the airbrush than regular painting where they sometimes pull off with additional brushstrokes.


Here we see the disassembled walkers have received their first coat, they look like they belong in a desert at this point, but I'm going for a camo scheme I really liked on some German tanks I've seen.


Next I added the brown to everything, I was really liking where it was going at this point and all was going well.


This continued as I finished with the dark green.  Here's a pic of the Ludwig.


And one of the Hans.


Still a lot of work to do on these two, but I had the time to use the airbrush and had to do so today.  They need all of the metal and details picked out, weathering and damage done, and finally some decals.  I may get those from the dust game website.  I have finished painting the Kommandotrupp as well as a squad of Laser Grenadiers, one of the Battle Grenadier squads is also base colored.  Just took a break from them to do the airbrushing.  Some pictures of them later on.

Thanks for stopping by.

Thursday, May 31, 2012

Dust Warfare: The First Fight

The following is a recap of my first game of Dust Warfare.  It was my Axis against Kevin's Allies.  We played 150pts.
Our lists were as follows:
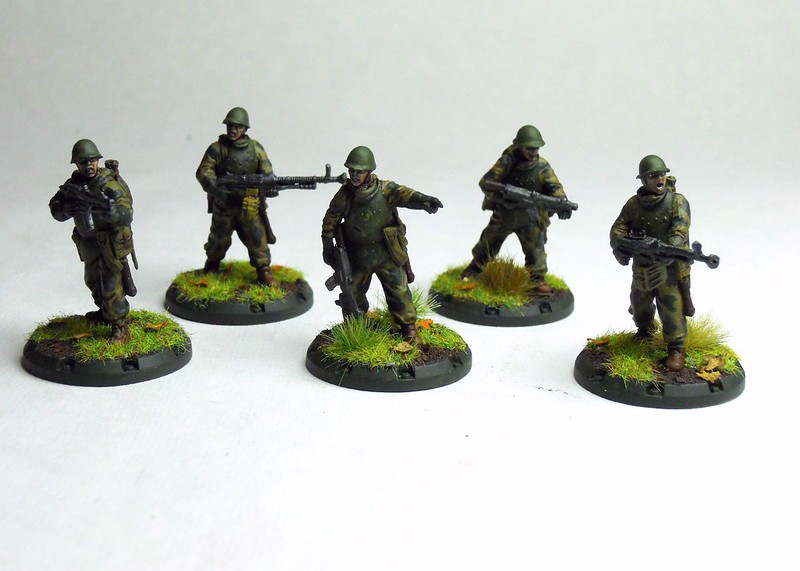
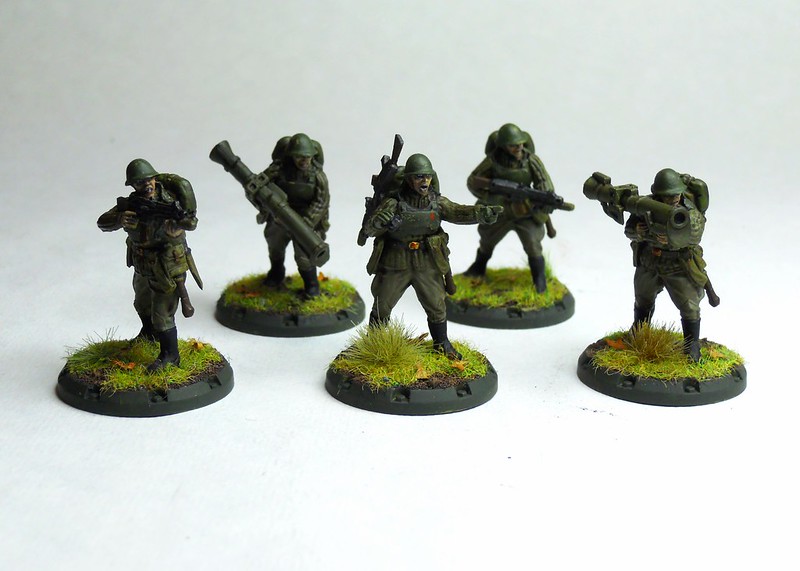
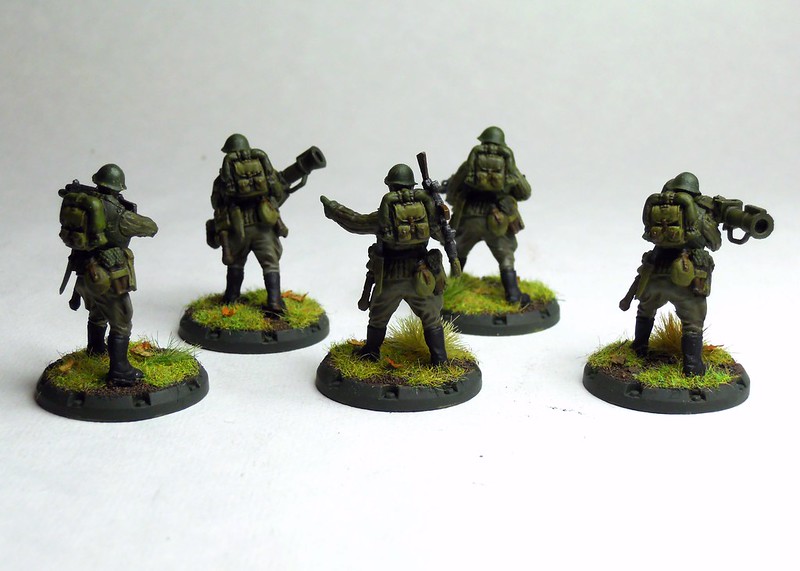
Axis Sturmgrenadiere Platoon

Command Section: Kommandotrupp
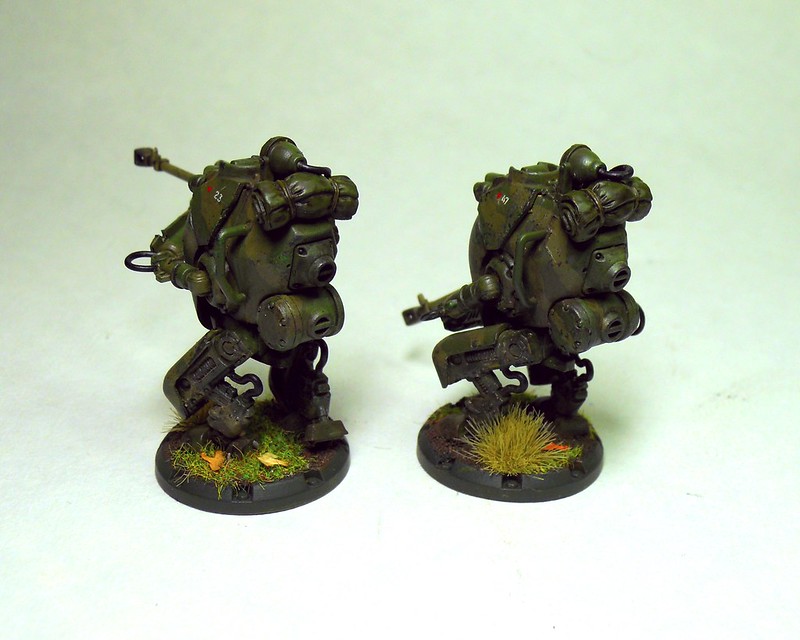
1st Section: Battle Grenadiers
2nd Section: Battle Grenadiers
3rd Section: Heavy Recon Grenadiers
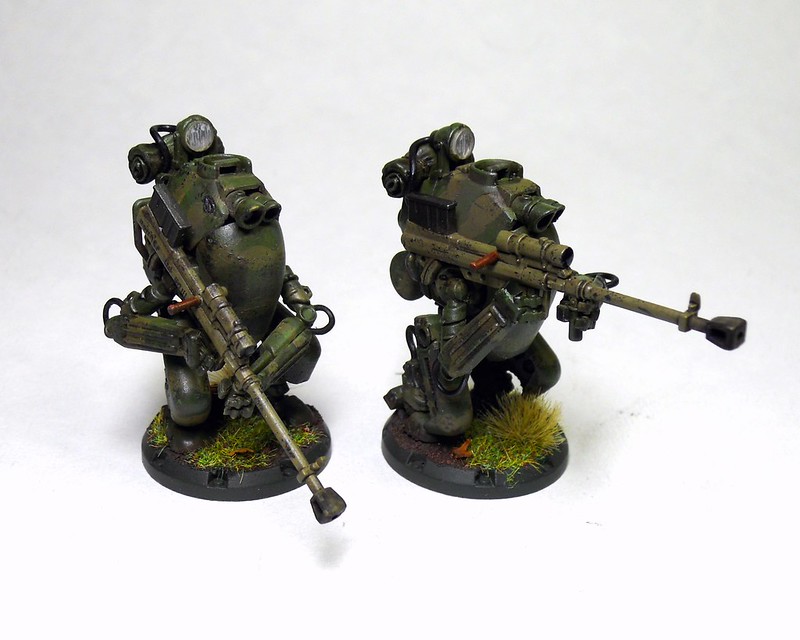
4th Section: Laser Grenadiers
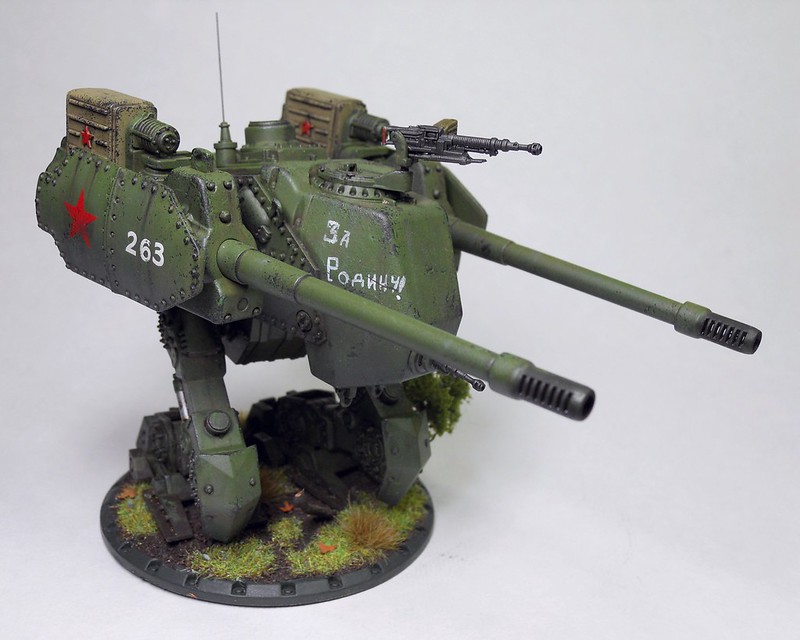
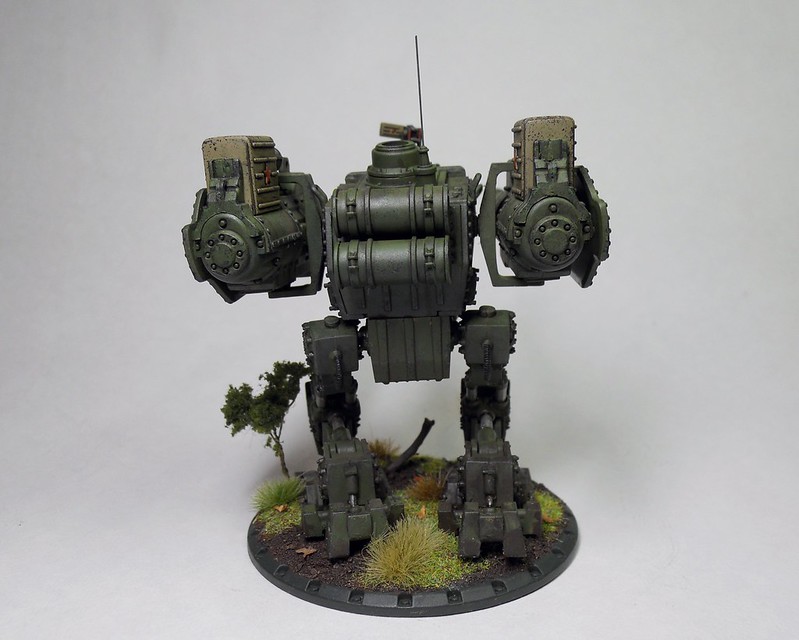
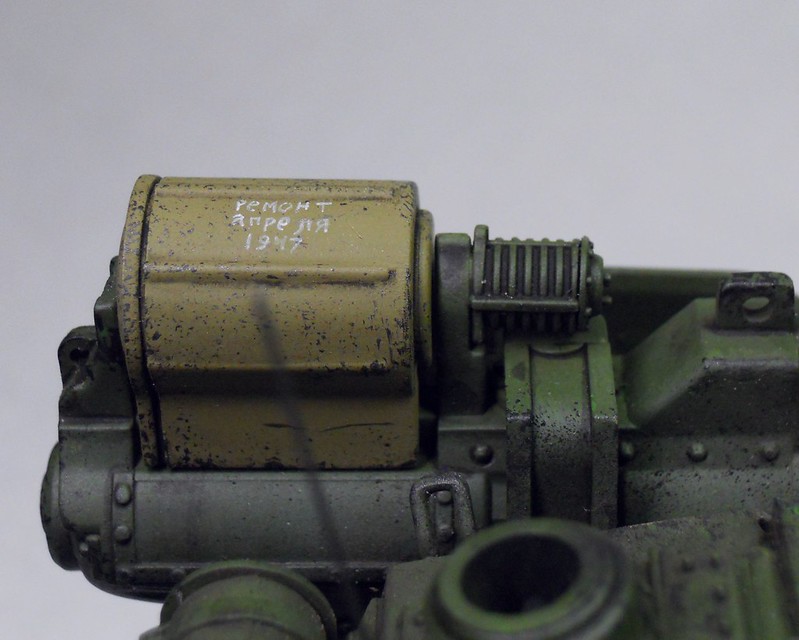
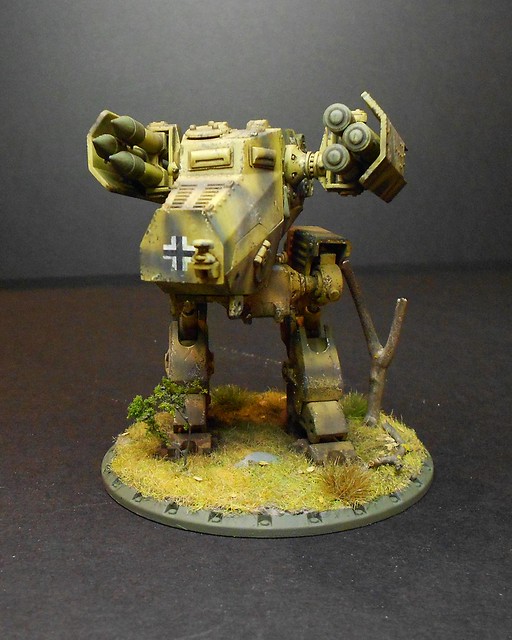
Support Section:  "Luther" Medium Panzer Walker

Allied Combat Platoon

Command Section: Ranger Command Squad "The Boss"
1st Section: Combat Rangers Squad "The Gunners"
2nd Section: Combat Rangers Squad "The Gunners"
3rd Section: Assault Rangers Squad "BBQ Squad"
4th Section: Heavy Ranger Tank Hunter Squad "Tank Busters"
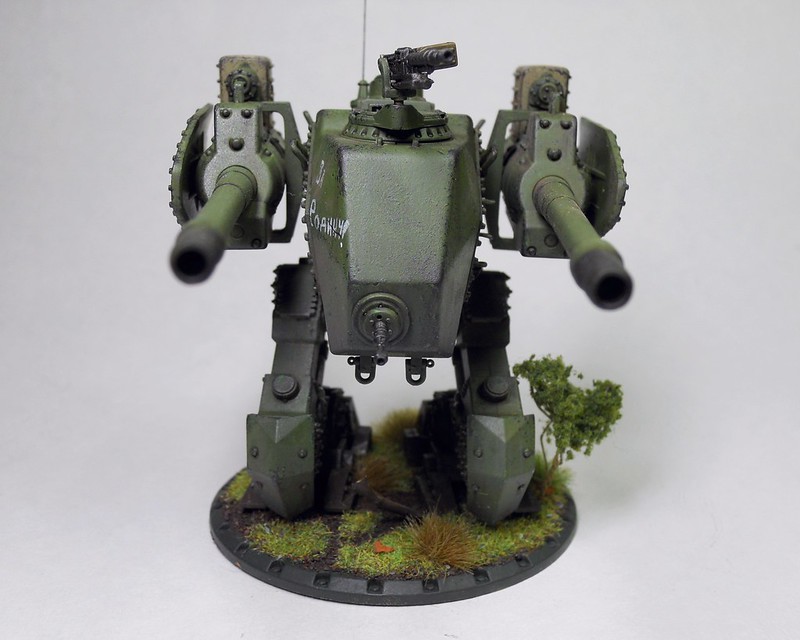
Support Section: Medium Combat Walker M2-A"Mickey"

We decided to use the table to make our mission as opposed to using one of the pre-built missions.  If we're going to try out this game, we're going to try out everything.  Going through this process we came up with the deployment type "Close Engagement" with the objective "Eliminate the Enemy" and no special conditions. We deployed between 6 and 18 inches from our respective board edges and rolled to see who would go first.  I ended up with 2 hits and Kevin with 3.  So I started the game with 2 orders.  Here is our deployment.  Not having much idea how this was all going to work out, or how to play the army we both started with pretty much everything in cover and mostly out of range.


For my command phase I gave a Blitzkrieg order to the Battle grenadiers by the bunker and advanced them behind the laser grenadiers.  I have my command squad move up as well and they get a reaction token.  Not knowing too much since I did not have the rules to review I placed my command poorly and not all of my units fall within its influence.  Oh well.  Another he


I missed a picture here for Kevin's command phase.  He had three orders.  The first he uses to try and call a "Long Tom" Artillery strike against my command squad (because it contained my painted officer).  It missed.    
The last was used on the Mickey to take a shot at my Luther, he missed.

In my combat phase I advanced the Blitzkrieging Grenadiers to behind bunker I and shot my Panzerfausts and Panzershreck at the Mickey.  The Panzershreck scores a hit and does 2 damage!  Causing an external fire.  Next I move up the Heavy Recon Grenadiers towards the bottom of the screen.  They fire at the BBQ squad in the emplacement there and manage to kill 3 of the 5. I then move up the Laser Grenadiers and fire at the Ranger squad below the Mickey.  They manage to Kill 1.  The Luther Shoots at the Mickey but misses.  The second Grenadier Squad moves forward 3".


Kevin begins his turn by taking out some hardcore vengeance on my Grenadiers which shot his Mickey.  His command squad shoots at them and takes three of 'em out.  The Mickey puts out the fire.  The Ranger squad near it removes a suppression marker and shoots at the Laser Grenadiers with their UGLs and rifles, they fail to cause any kills.  The Tank Busters fly out to behind the wrecked scout car and blow up my Heavy Recon Grenadiers.   This leaves the remaining infantry with nothing to shoot at.


This initiative phase I roll 2 hits and Kevin 1.  He gets to go first.  He again attempts to Long Tom my HQ, this time he succeeds.  The strike takes out one of my Kommadotrupp.  It also hits against the Grenadiers near Bunker I and suppresses them.  I Blitzkrieg order the Panzershreck to take another shot at the Mickey, it misses.  I then order the Laser Grenadiers to shoot at the nearest Combat Rangers and manage to pick one more of them off.
The Combat Phase brings me more pain.  The Mickey begins shooting at my command squad killing another member.  His HQ finished off my Battle Grenadiers near bunker I as well.  I lose a Laser Grenadier to the Ranger Squad they just shot at.  Worst of all the Tank Buster roll up and destroy my Luther with a single salvo!


My combat phase is pretty uneventful as the tide has really gone against me now.  My Laser Grenadiers manage to pick off a single Ranger.


Turn 3 sees Kevin and I both roll 2 hits and so we reroll and I get a 1 to his 2.  I use my one order to have the Laser Grenadiers Blitzkrieg and shoot at the Rangers again.  They manage to pick off 2 more.  Kevin calls in a Long Tom strike on my Grenadiers near the Luther Wreck and kills 1.  His other order is used on the Mickey which continues to pummel my HQ. Leaving only my Radio guy alive.  The autumn cover of his helm blended in with the blood of his fallen comrades.  Really it's because the Mickey did not have LOS to him and you can't kill what you can't see.
The combat phase sees the Laser Grenadiers kill another Ranger, leaving one alive.  I move the remaining Battle Grenadier squad back into cover.  Kevin makes a general advance.  The lone Ranger is suppressed enough that he is forced to fall back.  The BBQers move up and smoke a Laser Grenadier and the Tank Busters enter close combat with my Battle Grenadiers.

 
Turn 4 and I am all "Game over man!"
The fight must go on until the last man has fallen though.  So we roll for initiative.  I roll no hits and Kevin gets 1.  My order is spent telling command that the Obereutnant is dead and the radio man is in command.  Kevin calls in the Long Toms on my Battle Grenadiers but it does no harm this time.

Combat phase sees kill a single Tank buster as I move out of combat and not much of anything else as I try and hold in cover and just survive a little longer.  Kevin takes the laser Grenadiers down to 1 man with the BBQ squad.


Turn 5 and Kevin rolls 1 to my none.  I Blitzkrieg my radio man to the back of Bunker II.  Kevin Long Toms the Grenadiers.  Combat phase sees me shoot my radio man at the Tank Busters and try to Laser a BBQer.  It also sees Kevin wipe the Axis forces from the table and sweep on to victory.


So, that's that.  I lost this game of "Dust Warfare"  but that's not to say I did not enjoy it.  It's rather fun and I enjoy it more than I did Warmachine.  Here's a list of some things I liked and did not like.

Pros:
-Can be played rather quickly at this point level if you are more familiar with the rules than we are.
-The hit system simplifies shooting and helps speed things up
-I like the phases and rolling for initiative each turn.
-The allied and axis special orders Long Tom and Blitz Krieg seem to be balanced. With the arty strike having great reach and firepower, but Blitzkrieg allowing you to really put a good unit to extra use at a key point in the game.
-Pretty cheap to get into.


Cons:
-Cover feels a bit wonky to me.
-There's no such thing as durability, things die pretty easy.
-Warfare should have unit cards.
-Moving only 3 inches in terrain is rough.

Overall I had a positive experience and we have ordered the started set for yet more models, expect a table update and another Dust Battle next week.  I did work on the table last Sunday, but it was mostly just spraying on a several coats of clearcoat to protect it during use.  Not very post worthy.  I also had to fix the water, but you can see that next time.  Also look for a post on some more painted Dust models!