Showing posts with label terrain. Show all posts

Wednesday, July 15, 2015

Terrain: River Renovation Part 1

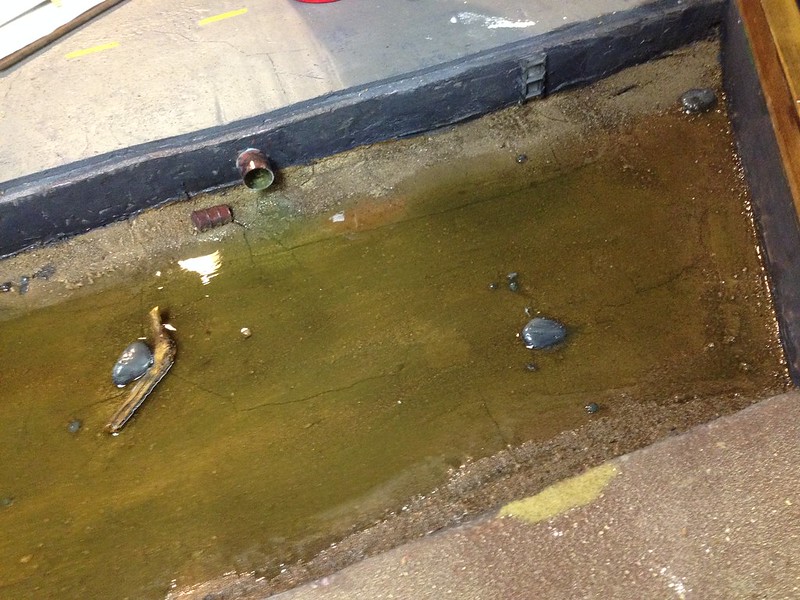
Another two weeks gone by and another post.  Over the past few game nights I have been working on renovating the river on our gaming table.  Over the years it's been getting a bit rough, the resin did not dry correctly last time and some paper got stuck to it.  After that I used some water based water effects to cover it and it was just an ugly brown sludge.  It's always been my least favorite part of the board, not the idea of having it, but the execution.  There's a shot of the original below.


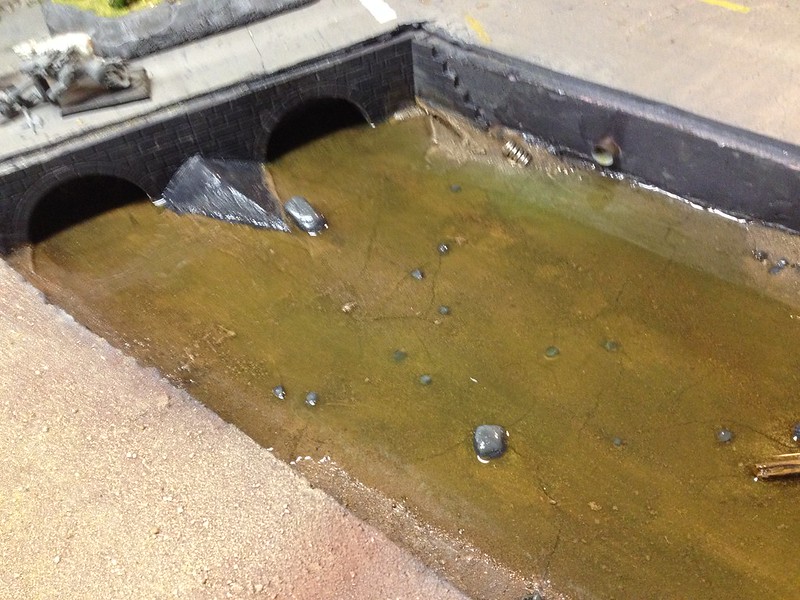
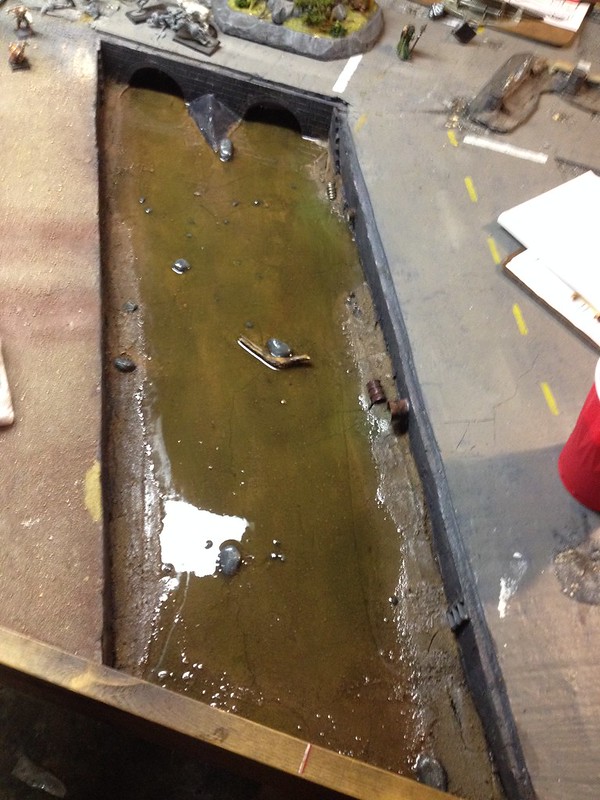
I neglected to take any process shots of this, but the first thing I did was lay down a riverbed out of plaster.  Into that I pressed some different sized stones and some debris.  After that I textured it up a bit and added some paint.  I sprayed a clearcoat after I was done and let it dry for a good 2 weeks so it would not interact with the resin.  I wanted to be sure as sure this time.


I added a bit of debris, some wood, jerry can, spring, barrel, and some discoloration around the outlets.

I still have to add some effects and ripples to the top around all of the obstructions.  I am also going to have water running out of the outlets coming from the city side of the board.  Stay tuned, when it's all done I will make another post.


Friday, June 7, 2013

Battlefleet Gothic: New Table & Game Report

First up are a few close ups of some celestial bodies which I airbrushed onto my groups new space board.  It's made out of an 8x4 hardboard sheet cut in half.  Spray painted it black, added a bunch of stars and stuff then sealed it with gloss clearcoat.  It does tend to make it reflect the flourescant lights a lot, but it makes the black look so much darker.

First up is a nebula I painted from some images on the internet and it was dubbed by Kevin as the Blue Rose Nebula.


Thursday, January 3, 2013

Not dead, but I am in Mordheim


My brother and I have not worked on much in a while, so tonight we got the balsa planks he ordered out and made up some terrain for Mordheim.  I made the stilt bridge in the middle and the barricades beneath it and he built all the crazy boardwalks.  We use these to connect terrain pieces while we place, usually buildings and usually only when we play Mordheim.  It just needs some wood stain and it's all done.


The week before Christmas is the last time I worked on anything.  I painted my Recon Grenadiers for my Dust: Warfare Axis army.  These are my first completely finished troops which include basing.  I also chose to cover up the large cross on their chests and just go with the one on the shoulder.  The groundwork really doesn't look so uniform in person, plus I got some assorted tufts in the mail which I put on some of them.  Really breaks them up more.


Here's a shot of the backs.  You can see the little bushes better.  I think they look cool, but they are a bit brittle so they may not be a featured when I base the rest.


To a new year, and to more consistent posting!

Friday, September 7, 2012

New table, new terrain! [Part 9]

Just a small update today.  I have not been doing much of anything on the hobby front for the last 2 weeks.  Tomorrow there is a tournament in Rochester though, so I am excited about that.  It should get me rolling again.

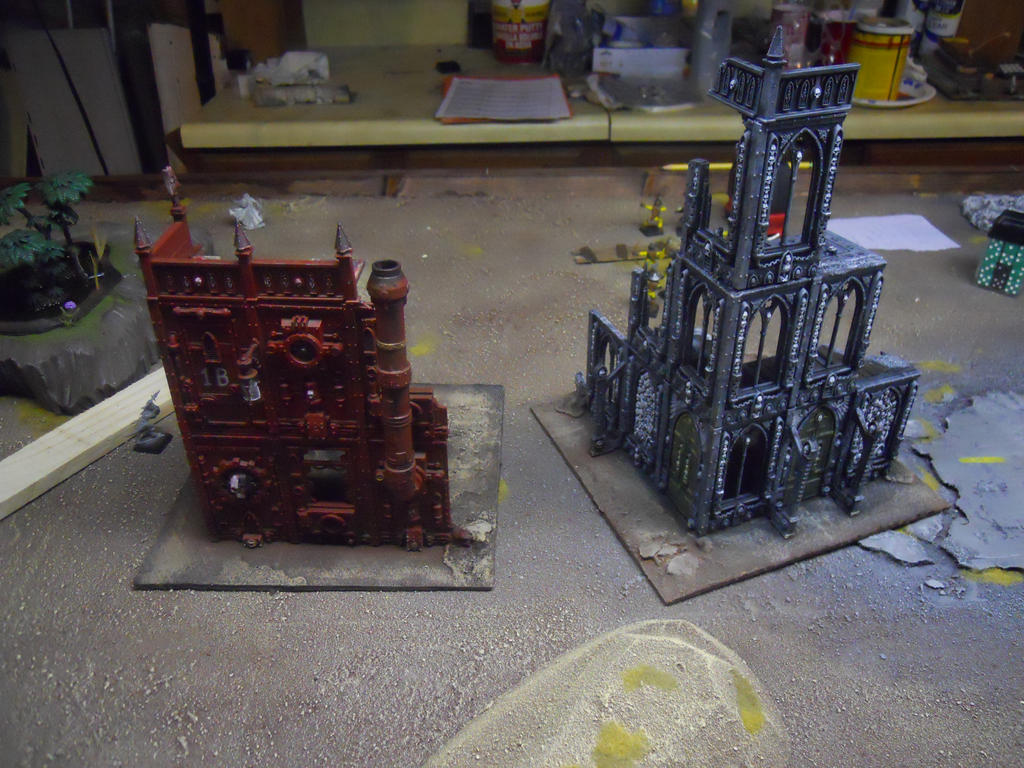
Here's the building I painted at our last game night.  It's a small mechanicus building.  It was built from spare parts by Kevin and has been known as the "Minifactorum" for years now. Glad to finally see it painted!


Here's a shot of the inside.


Gonna take my camera to the tournament and take lots of pictures (if I remember to) so expect some battle reports over the next week or so.  Probably going to pick up some more models for Dust: Warfare  so I should have an update for that game coming too.  I have actually painted quite a few units, but I have not come up with a basing scheme yet, so I have not photographed them.

Saturday, August 11, 2012

New table, new terrain! [Part 8]

Got some more buildings painted up last week for the table.  Forgot to bring home a piece of foam to use to base the trees,  for the 4th week in a row... Still, the completed terrain collection grows every week and will eventually be complete.  Eventually, maybe not too soon for the list is long.

First up we've got a Cities of Death building which I have painted blue and white.  On the front the graffiti says "Freiberg Resists" with a small aquila above it.  What is the city resisting?  Why the enemies of the Emperor of course.


Here's a shot of the inside, there are a few small craters and bits of debris in there.


Next up is another Pegasus building.  This one has got a door and a complete first floor.  The writing is telling you to stay out because of the plague zombies.  Nurgle has visited our fair city.


Here's a shot of the other side and most of the interior.  A little bit of debris inside and there is a pot belly stove hidden by the wall.  There is also writing on the outside wall that says "All is lost."  Not everyone thinks the city is doing a good job of resisting anything.


Well, that is it for now.  I have received an order of medieval  horses from GW and have begun to construct my rough riders.  It's going to be rather time consuming to reconstruct all of the legs for each rider from the Cadian plastics.  I may just buy some casting stuff at last.

Stay tuned.

Monday, July 30, 2012

New table, new terrain! [Part 7]

Another week, another post.  This time, more terrain for our new gaming table.  First up we have the 2 ponds which I started a while ago and finished about a week and a half ago.  Really like how they came out and how they look.  The most time consuming part was the tufts of tall grass each needing to be drilled, then rolled and glued into place.  Each has 3 little plasticard fish hiding around the weeds or grass.  Finished it off with some printed, laser-cut lily pads.

Here's a shot of pond 1.


And here is pond 2.  The resin really works well for water effects.


This Sunday we made it over to Kevin's for a game night finally.  While my brother fought his necrons against  Chris' Tau/Eldar alliance I painted up some more terrain.  First we have a building from Pegasus.  Lots of grays dry brushed on here.  A nice checkerboard floor too.

Here's a view of the outside, which has a little Chaos graffiti.


Here's the next building I painted, one from the cities of death sets.  Lots of details to pick out on these and it took a while to finish.  There will be a tree in that small square once I get one for it.


Here's the inside.


Finally I dry brushed all of the foam terrain here was left to paint.  There were 2 small ruin pieces, the large ruin, and 3 urban wreak markers.


That's all for this now, working on a Leman Russ at the moment so you can expect that in the next few days. As always comments and critique are highly appreciated.

Tuesday, July 3, 2012

New table, new terrain! [Part 6]

Well, just go an email on Monday that my 6 ed rulebook is shipping.  A week after I got an email saying it was "dispatched."  Oh well.

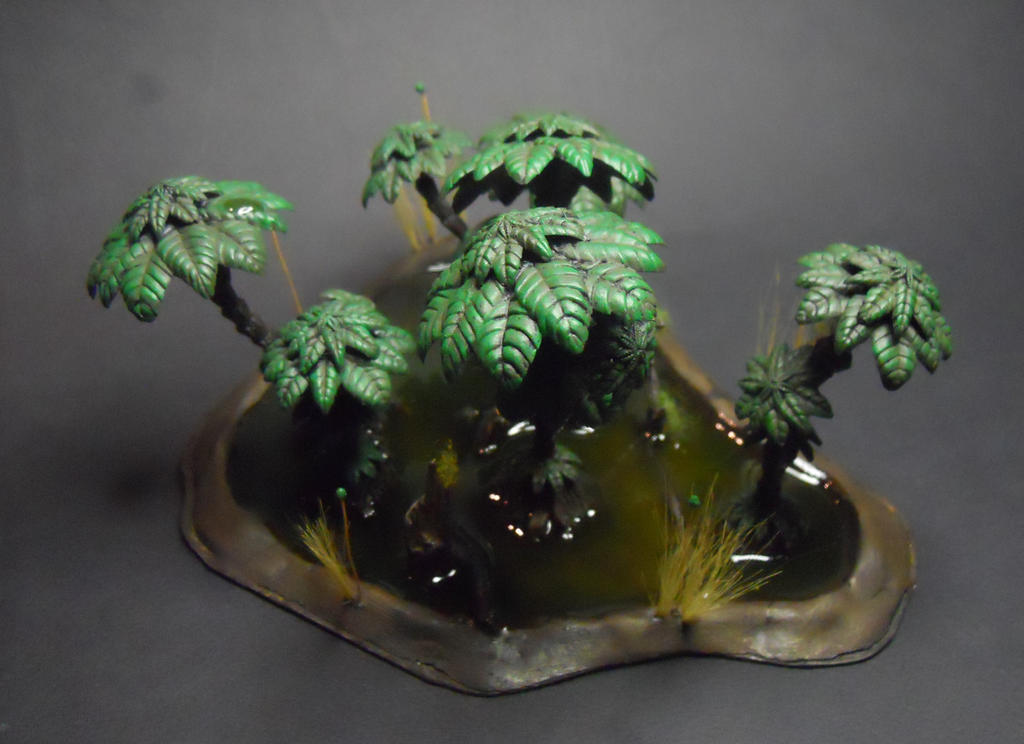
Over the last few days I have been very productive on the terrain front!  A couple nights ago I built the base for this small swamp after I finished painting my Heavy Recon Grenadiers for my Dust Warfare Axis army.  The next day I got out the paint, some resin, and these GW plants and whipped this out. The water is really murky, I just mix some paint right into the resin.  They sell dyes but this really works fine and has not yet had a negative effect on the resin.


When that was done being poured I finally painted the sentinel and dead pilot to finish up this piece.  I have been working on this on and off for over a year, don't know why it took me so long but it did.


Sunday I started out by making the bases for a duo of ponds to be used for terrain.  Not really picture worthy, but it took a little while to get them how I wanted them.  Next we went supply shopping.  Lots of stuff was purchased, spray paint, glue, resin, stuff to make trees, craft paints for terrain, plasticard, and some other nick-nacks.  I was looking for pre-made trees like I've seen at Millenium Games tournaments but they did not have them at my hobby shop, despite having a huge selection of model RR stuff.  They sell higher quality single trees and I got one of those to use as one of the random happenings from Mordheim.  We had to buy the raw materials for trees instead.

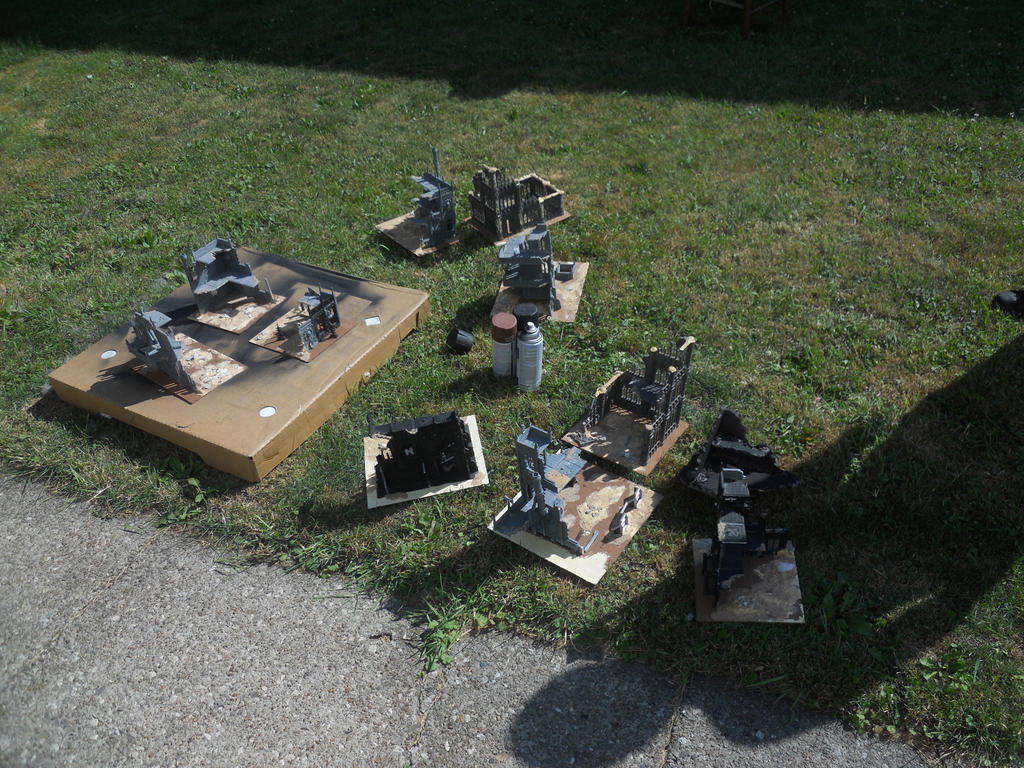
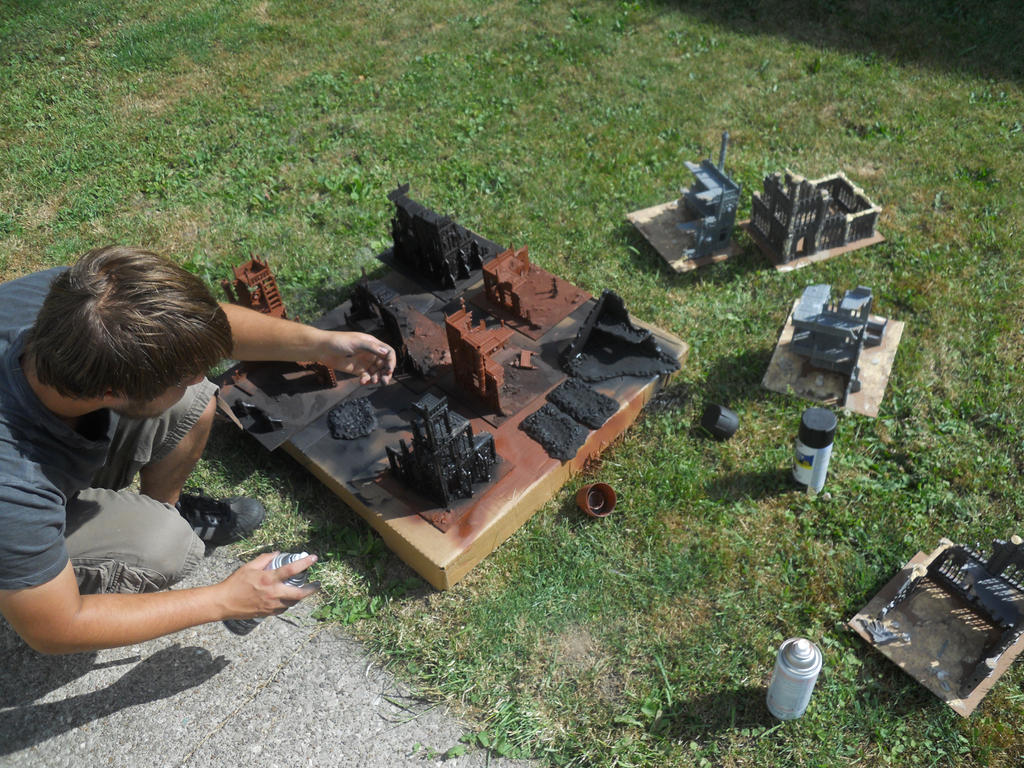
After shopping we headed over to Kevin's for terrain work/ game night.  My brother and I got to work priming all of the buildings(expect the church, it still needs a roof) either brown or black.  It was nice out so we opted not to do the spraying in the basement this time.


Most of the buildings will be black, with the mechanicus ones getting a reddish brown base.  The bases will either be urban or sand waste to match my table so they got the black or brown paint as well.  My brother helped me out and really made a mess of his hands with the spray paint.


Once that was done I cracked open those new craft paints and got to work.  Here are the first two buildings.  I opted for a somewhat simple painting job as I have a lot of buildings to do and they are just terrain.  The buildings get a drybrush or two over the primer and then I picked out some of the key details.  Same goes for the bases.  It's pretty fast and looks pretty good.  Not my best work, but for this it really gets the job done and is much better than the unpainted buildings we have been playing on for the last 5 years or so.

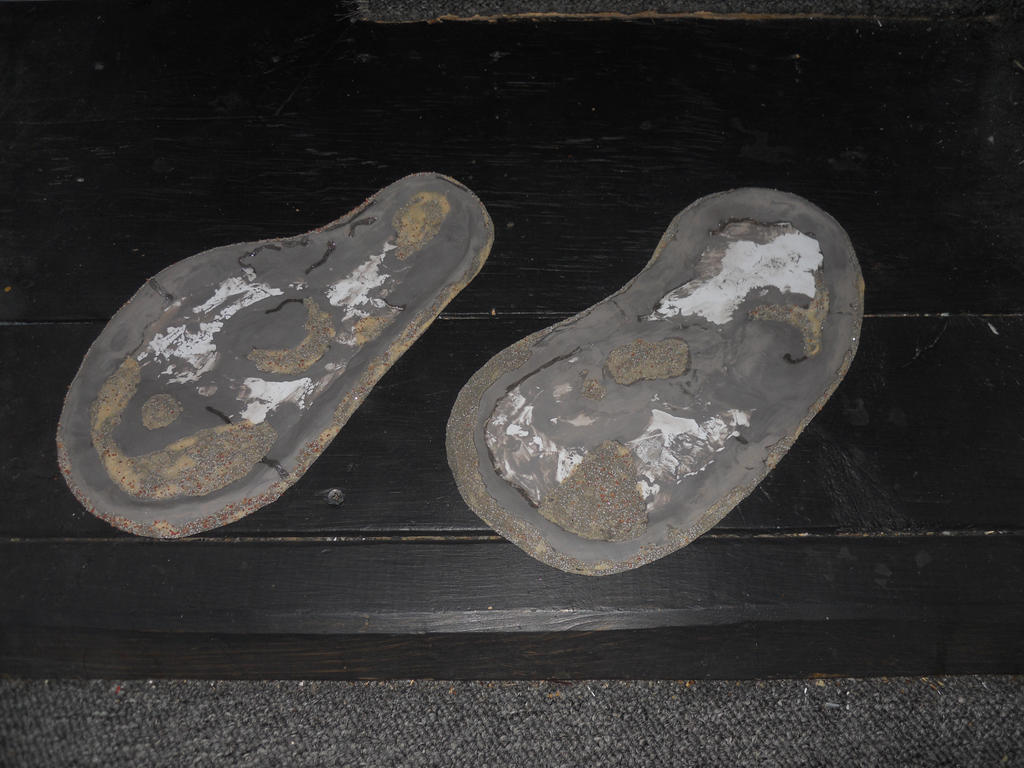
Monday night I started out by doing a bit more on the ponds.  I did some sanding and filling where required on the clay and then added some sand and texture around the outside (it will end up matching the sandy part of the table there) as well as some places in the pond where it will be a gravel bottom.  From the outside to the waterline will be static grass and tall grasses, perhaps some cat tail like plants like the ones around the mini-swamp.  In the water will be algae like stuff, some lily pads I bought, and some fish I am going to make from plasticard.  Most of the bottom will be mud.


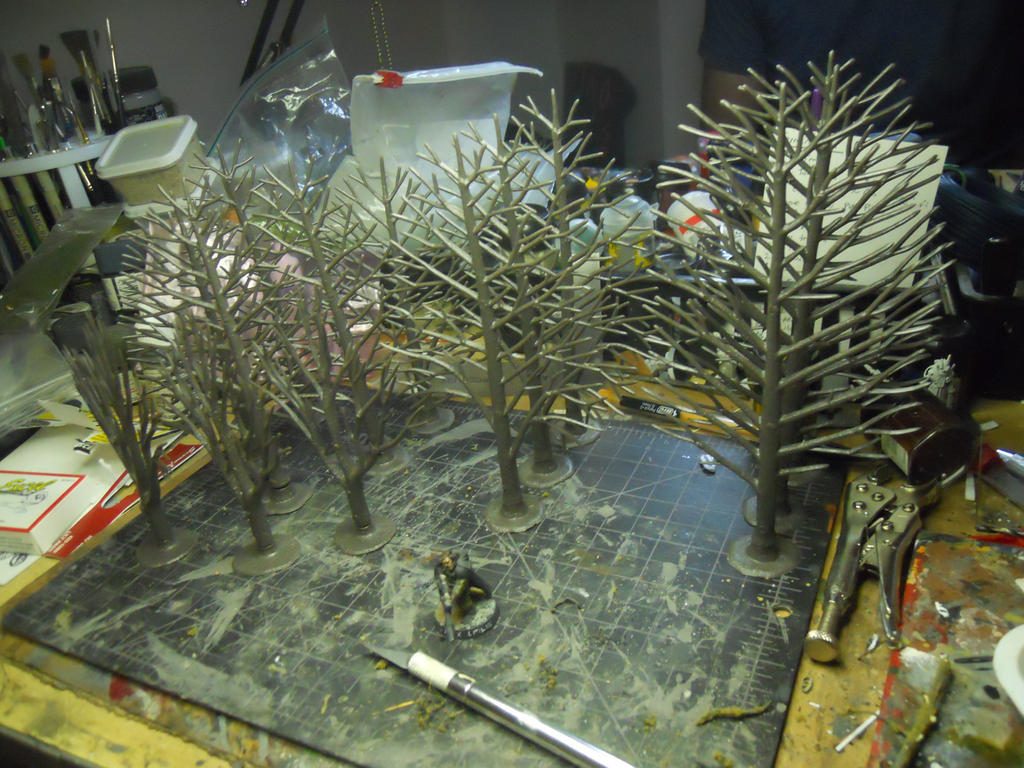
Since I could do no more on the ponds until the Elmer's dried I started to work on some trees.  Since they didn't have the multi-packs of the cheaper trees we opted to make our own using the Woodland Scenics supplies available at the hobby store.  We bought the largest armatures they had and 3 boxes of the fine-leaf foliage; dead, olive, and medium green.  Here are a bunch of the wire cored armatures.


Here you can see how it works.  You bend the flat armature into a 3d shape, then you tear out little tufts of the foliage and superglue them to the branches.  It takes some patience and a lot of time to do each tree, but it's really kind of fun.


I built 4 trees so far one with the dead brush, 2 olive colored ones, and one medium green one.  My brother wanted a scraggly looking tree so he built the one in the lower right.  I really like Woodland Scenics for this kind of stuff, they have a great selection and it's usually good to work with.  If you want great looking trees I really recommend doing it this way.  It may take some time but you should be very happy with the results.  It's amazing how lifelike they look when seeing them in real life rather than through my mediocre camera.


Well, my rulebook is set to arrive tomorrow so you may expect a reaction to that tomorrow.  Otherwise I won't be getting much terraining done until perhaps Thursday due to Tuesday disc golf league and Wednesday being Independence Day here in the USA.

I ran out of room on google for images for this blog, so now it's become a pain to add them to my posts.  I first have to upload them elsewhere then add the image URLs one at a time.  I may just cave in and buy 10gb of storage from google for the 2.50 or so a month that it costs.  May not. I still have 2 free gb at the other site so we'll see how my patience lasts.

They wait for me in the forest.

Thursday, June 28, 2012

New table, new terrain! [Part 5]

So, another week and some more progress on the buildings.  All I could really do was glue down some texture and so that's what I did.  Step one is to brush on some glue.


Step two is to pour on some flock and do it 12 times until all of the buildings are done....  It was rather repetitive and took a good amount of time to do this step.  I had time to do more work but the elmer's take so much time to dry that there wasn't time to prime once it was done.


This weekend I will get the priming done and then we will be trying out 6th edition or playing some more Mordheim. While I was working the rest of the lads were playing some Mordheim when this happened. Yeah, sort that out for yourself.  I tried to make the table pretty "tiltproof"  guess I failed...


Also, another a member of our group has returned to us after a while away from gaming.  He brought 2 Leman Russ tanks which I bought from him to use with my Forge World Turrets.  I need to strip them to repaint them so for tonight they are soaking in Simple Green.  This is the first time I am using it so I really hope it works out.  From what I understand it's the best way to strip plastics.  I am also going to strip my Baneblade for repainting if this proves to work out.


Stay tuned, next week should see some start to the painting of all of the buildings.

Wednesday, June 20, 2012

New table, new terrain! [Part 4]

Okay, some more terrain updates.  I spent the last gaming night working on the basing for the buildings.  I added some texture to all of the hardboard in the form of water putty.  I also added some bits and lots of rubble pieces. There are lots of buildings to work on...


Here's a close up of one which I incorporated an Aegis line piece into.


A shot of some more of the buildings.  I believe there are somewhere from 8-10 pieces.


So while I was going to do the flocking as well, the rest of the gang started a new Mordhiem campaign.  They needed a lot of the buildings for their game, because it's not Mordheim without buildings.  In order to keep working,  I decided to start working on the pews for the church.  Here's the test one I did with Andy's spare balsa sheets.


Then I cut out all of the parts for 9 more of them...


And got to assembling them all.  Here's a little gauge I made to make sure the legs were all the same height.


Then 10 finished pews appeared in the church.  The congregation was happy that they finally had someplace to sit as they worshiped the Emperor and the dice gods.  A statue from a LoTR set will stand in for some sort of saint and the altar will be made of 2 d6 dice which will get a wood top.


As the people were worshiping, some chaos folk cam in and shot the place up. How rude! On this side we have some flamer damage, bullet holes, and shotgun blasts.


On the other side there are more bullet and shotshell holes.


So there we have it, a church in a warzone.  Next week I will be flocking all of these buildings and perhaps priming them as well.  It's going to be a long process on these and I still have an entire list of other terrain features I want to add to the collection to update it.


-Raised Pipes
-3ft Defense Wall
-6x Tanks Traps
-6x Fences
-Scatter Terrain
-Supply Dump
-HQ Emplacement
-4x Emplacements

Plus some other random stuff I already started, like a small LOS blocking hill, a couple ruined vehicles, and an overrun lascannon emplacement.  Wish me luck.

Tuesday, June 12, 2012

New table, new terrain! [Part 3]

Okay, so we've had these ruins for quite some time, so they are not technically "new" but they will seem like new when I get through with them! Step one is basing them all.  I think we have a total of 12 plastic buildings.  So this will be no small feat.  So we collected most of them here for viewing.


Next we had to cut up the hardboard which was purchased with the rest of the table supplies a while back.  My brother did not come with us today so I was forced to have Andy and Kevin help me maneuver the sheet over the table saw.  As a result, some of the edges are not the straightest possible though they will do fine for terrain.  Kevin also had a knack of pushing the material into the blade and pinching it, of course he would not admit to it.  The problem mysteriously vanished when Andy held the outside edge. Hmm...


Once I had the strips of a couple widths cut I could manage most of the further cutting on my own and measured and cut out the pieces for each building.


The next step was to take the buildings off of their old cardboard bases, clean them up a bit, make any repairs, add any extra details, or anything else that needed to be done.  So in letting Andy use my hobby knife he decided to use it to block a smack for some wise talk.  Absent mindedness is not a good thing when handling sharp objects.  There's a reason I used all the power tools.  So, I get a nice 1 in wide gash in my wrist.


After I tended to my wound I finished what I could on our chapel.  It needs a roof still, and the second layer shall be removable so that the interior can be accessed.  I will probably also make some pews and an altar and such for it.


The buildings got glued down to their new hardboard bases and that was pretty much all the work there was to do.  Of course we had the Stanley Cup game playing on the laptop, if you could call it a game...


So, we finished up with a game of Dust: Warfare.  150 pts Andy vs. I, Axis Vs. Axis.  We played corner deployment, secured area, and the one where you get to the enemy deployment.  In the end it was a draw.  We each killed one enemy unit of Battle Grenadiers with neither of us making the enemy's deployment with any units.  Mostly due to the lines of minefields we laid everywhere.  It was still fun, the fortifications were an interesting addition, and we caught a mistake or so more in how we have been playing.


Next time we're there I will be cleaning all of the buildings, as they are rather dusty.  I will also try to do most, if not all of the groundwork and flocking.  If I have time I will add any extra details and to the base coats of spraypaint.  We'll see.  I think painting all this terrain is going to take even more time than building the table.  I still have other terrain to finish, like the sentinel piece and a ruined land raider.  Some of the older pieces need a retouching as well and we still need more scatter terrain and barricades.  A lot of work to finish, so stay tuned!